
Installing a boiler for cold-weather sailing
Heating Quetzal for high-latitude sailing is a complicated project with a big payoff
Many sailors dream of sailing in the islands with sandy beaches and warm trade winds, but some of the most exciting and rewarding sailing is found in colder climates. Sailing was never meant to be comfortable, but living and sleeping in a cold, damp boat takes all the fun away. A heating system is a requirement for semi-comfortable cruising in places where the mercury stays in the bottom of the thermometer.
Heat takes energy. On land, this means natural gas or electricity, but neither is readily available at sea. But most boats have another plentiful and safe fuel in the form of diesel fuel. Diesel is a safe and energy-rich fuel to burn for heat. Diesel boat heaters are cross-pollinated from the truck and bus world, which have the same limitations.
Heaters come in a few forms: a fireplace style that radiates heat passively, a direct air version that blows hot air or a boiler (hydronic) that heats hot water that transfers heat through radiators. The fireplace or hot air version works great for a smaller boat or a single cabin, but you need a boiler to heat a larger boat.
There are several manufacturers of these systems, interestingly most of them Canadian or European, likely due to the great higher latitude (read: cold) sailing in those areas. Dickinson Marine is a major player in the fireplace market, and Webasto and Erbspaecher/Espar lead the boiler and direct air market. Boilers are typically not built for the marine market and are marinized by third-party firms. Sure Marine offers complete kits for several different Webasto boilers.
Prior to John Kretschmer’s high latitude sailing expedition in summer, his Kaufman 47 Quetzal needed a heater to keep the crew warm, so we took on the project in, of all places, the Caribbean.
All good projects start with a plan, and this one starts by planning the size of the boiler. Boiler sizing is important: a unit that is too small won’t keep the boat warm and will prematurely wear out, but a boiler that is too large will cause short cycling that will also prematurely destroy it. Boilers are specified in BTUs delivered. You can approximate the BTUs required by calculating the interior volume of the boat (length x width x height) in cubic feet and multiplying by 12. This will give a rough estimate that you can tune up or down depending on the boat’s configuration. A deck saloon will require more BTUs than a low-slung cruiser, for instance.
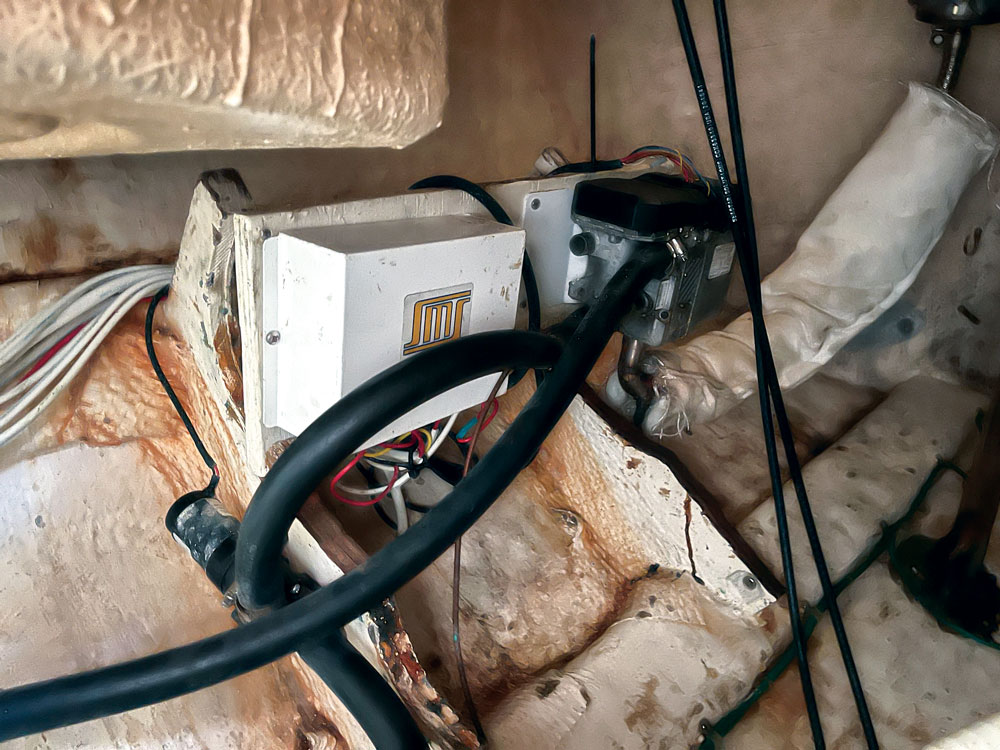
For Quetzal, we chose a Webasto TSL17 boiler, which is a very compact 17K BTU boiler. The boiler itself is about the size of a small shoebox and has a small (22-millimeter) flexible exhaust system. To mount the boiler, we fabricated a plywood mount to match the hull’s contour and mounted the boiler to it. We then attached the bracket inside the lazarette using thickened West System epoxy.
We found space right next to the boiler for the expansion tank. The expansion tank must be the highest point in the system to capture any air in the system. The exhaust should be routed as directly as possible, the shorter the run the better. We routed the flexible exhaust line to a new fitting on the transom. Exhaust can be deadly, so we sealed all connections with a high-temperature sealant called Permatex Ultra Copper.
The exhaust systems on these units gets hot, up to several hundred degrees, so it must be fully insulated and routed away from any flammable materials. We terminated the exhaust line at an exhaust through-hull fitting designed to keep hot gasses away from the fiberglass. Our small boiler didn’t require a muffler, but larger boilers often do.
The boiler is useless without fuel, so we tackled that next. These systems sip fuel and are supplied with an easy-to-route 3/16-inch fuel line. We added a pickup to the boat’s diesel tank, and placed the fuel pump and filter in the engine room. The boiler should only use about a pint of fuel per hour when operating. Like any diesel system, it’s important to bleed the air from the line. This is easy to accomplish by removing the fuel line from the boiler and pumping fuel into a cup until all signs of air disappear.
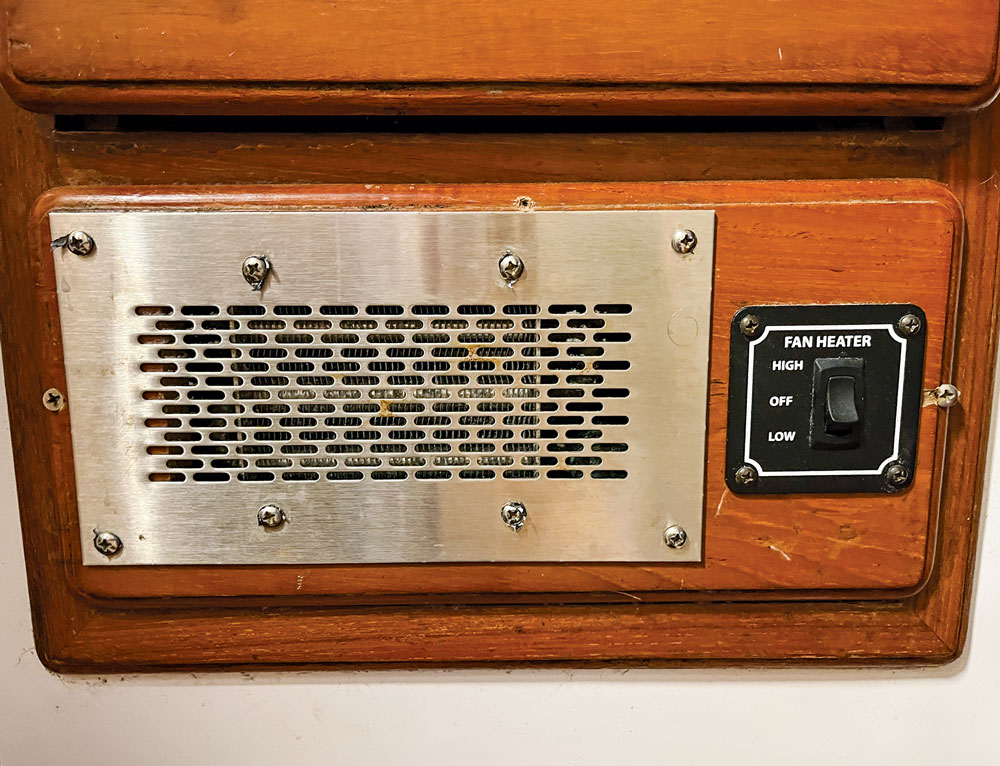
The most difficult part of the installation is the piping and radiators. We designed the system with a small radiator in each cabin and a larger one in the main saloon. We chose small radiators with 4-by-8-inch faces for the cabins and cut holes in lockers to mount them.
Comments