Get the season started
Work on your boat now so you can spend the season sailing, not fixing
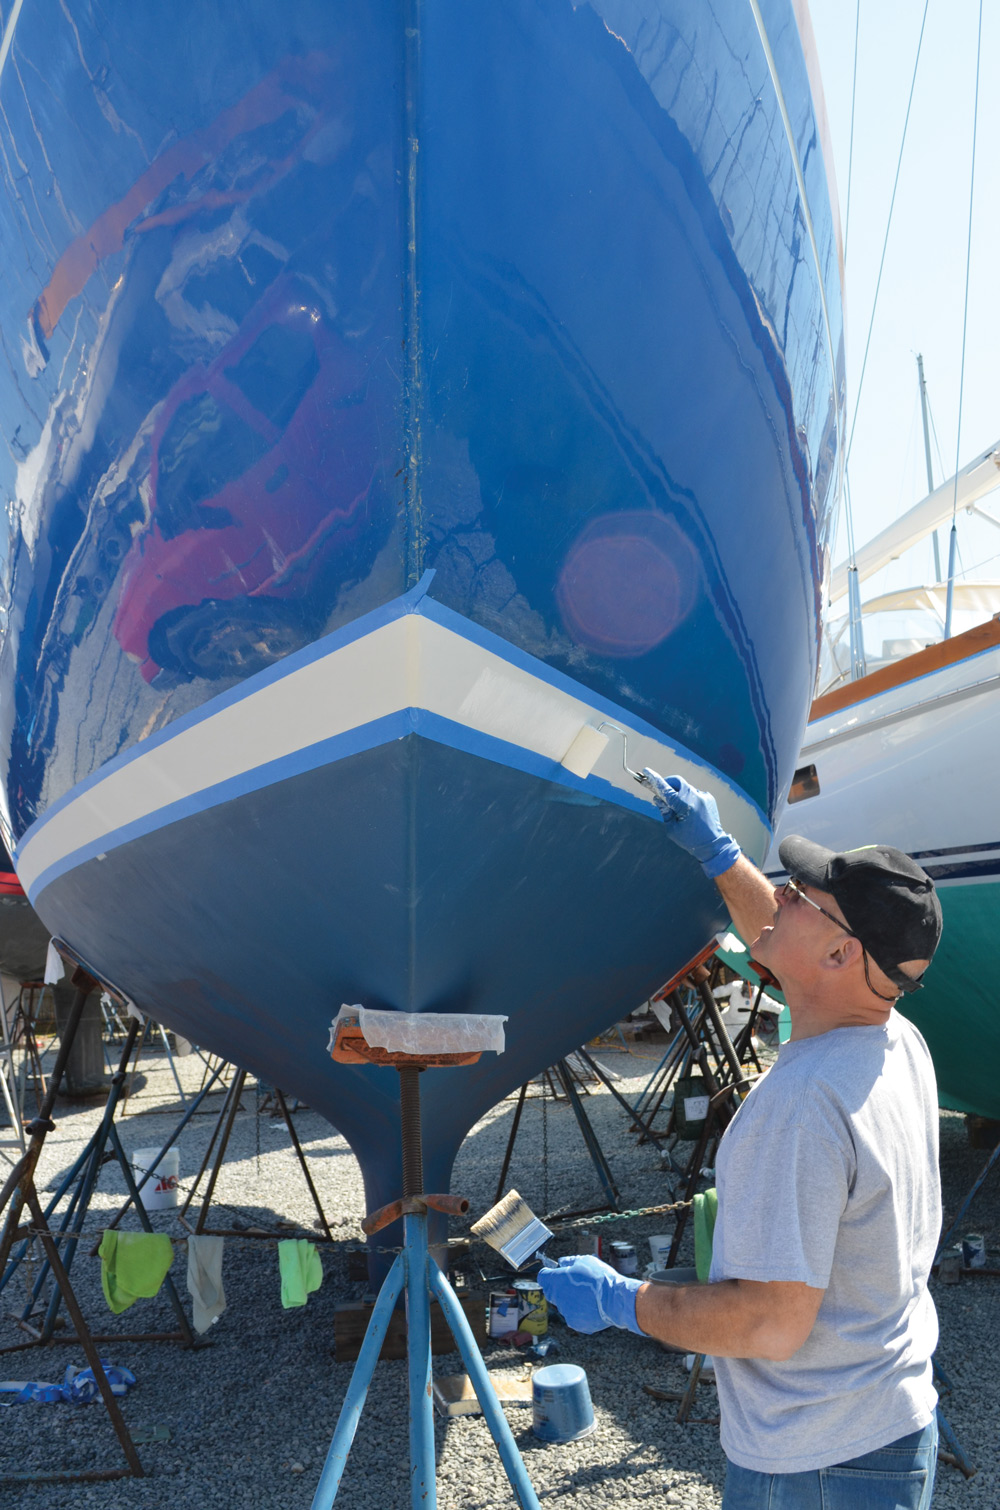
Pretty up varnish and paint
Any job involving paint probably doesn’t qualify as any boat owner’s favorite, but if you’re up for a project that takes a little more time and you don’t mind getting dirty, refreshing paint can make a big difference.

Sometimes, frankly, you have no option. When bottom paint starts wearing thin, often in four or five years, new paint is needed. One of the best kinds of bottom paint for cruisers can be a self-polishing paint such as Interlux’s Micron paints. By applying three coats of a self-polishing paint—the first coat in a different color than the last two—you’ll recognize when the paint is wearing thin and know that you’ll need to add a couple more coats in the next year or so.
Even if your bottom paint is in great shape, take some time to get it squeaky clean and burnish the bottom so it’s slick when it slides in the water. Keep topside paint looking shiny by taking a note from the car world and detailing it. See Technique, page 36, for more.
Detail-oriented owners looking for a project that will bring out their inner perfectionist may want to tackle some varnish work. If the existing varnish is far gone, you’re better off stripping it or using a heat gun to remove the old finish.
After that, take your time with sanding, starting with 80-grit and working up to 220-grit, removing every bit of dust you can.
Thin the first coat of varnish by about 20%, then add subsequent coats at full-strength, sanding with wet 220-grit sandpaper and removing dust between each coat. Before the final coat (you’ll apply between seven and nine
If you hadn’t figured it out, the difference between a good varnish job and a great varnish job—the kind where you can see your reflection—is dust removal, so it’s worth spending extra time and effort to eliminate anything that might mar that mirror finish.

Comments