
Spring spruce-up
Whether your boat has enjoyed a winter off or it’s time to take on some annual chores, our guide to fitting out will make sure your boat is ready for a great year of sailing
Change your impeller
You’ve probably heard this advice before, but make this the year to actually follow it. Impellers are inexpensive and easy to change as long as they are intact. But it gets messy when they disintegrate and you’re left fishing chunks out of the engine’s heat exchanger. Access the impeller through a plate in the engine’s raw-water pump. Remove the O-ring and pull out the impeller, taking note of which direction it faces. Put in the new impeller and check the O-ring to make sure it is still malleable, replacing it if necessary. Then close the pump up and check this simple step off your list.
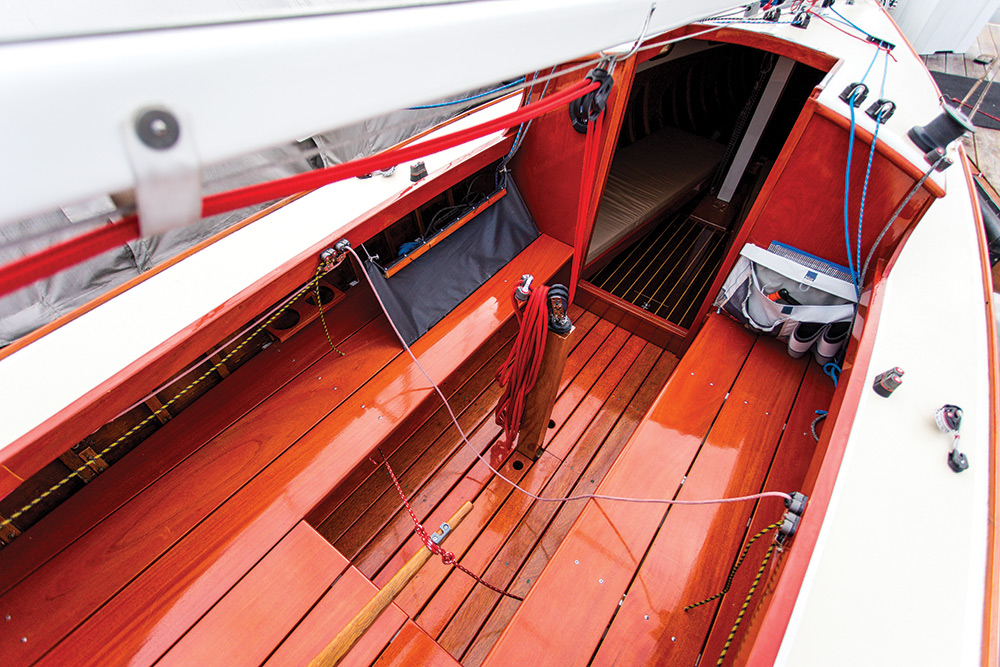
There are two kinds of DIY boat owners: those who enjoy the time and care it takes to get a beautiful varnish job, and those who’d rather do anything else. But few jobs give you the instant upgraded look of newly varnished brightwork. Before you take on a varnishing job, gather your patience, because it’s one project you can’t rush.
As with a good paint job, surface preparation is the most labor intensive and important part of the project. How much work you have to do depends on the current state of your wood, and can include just sanding with 220-grit sandpaper for wood that just has a few scratches to using a heat gun or chemical stripper to get rid of old finish. If you’re starting with rough wood, after clearing off old finish, start sanding with 80-grit sandpaper and work your way to a fine, 220-grit sandpaper.
Before you start applying varnish, do everything you can to eliminate dust, and if you’re varnishing outside, avoid windy days. Tape off the area to be varnished and use disposable foam brushes to apply varnish with the grain of the wood. Master varnishers will start by thinning the first coat by 20% with thinner and do subsequent coats—as many as nine—with straight varnish. Wet sand in between coats with 220-grit paper. Before the final coat, wet sand with 320-grit paper to ensure a glasslike finish.
Replenish your spares
Deciding what kind of spares to keep on board is a balancing act: You want to make sure you have what you need when you need it but there is only so much space you can devote to extra parts. A good bin of small bits and pieces—cotter pins, cotter rings and stainless steel screws—as well as an epoxy repair kit, batteries, oil, light bulbs for navigation lights and an impeller are a good place to start. From there, take a mental inventory of the parts you’d really be in trouble without, keeping in mind that this list will vary depending on the kind of sailing you’re doing. Although they don’t necessarily qualify as spares, keep things you may need to fix a problem on hand as well, including tools, electrical and duct tape, zip ties and more.
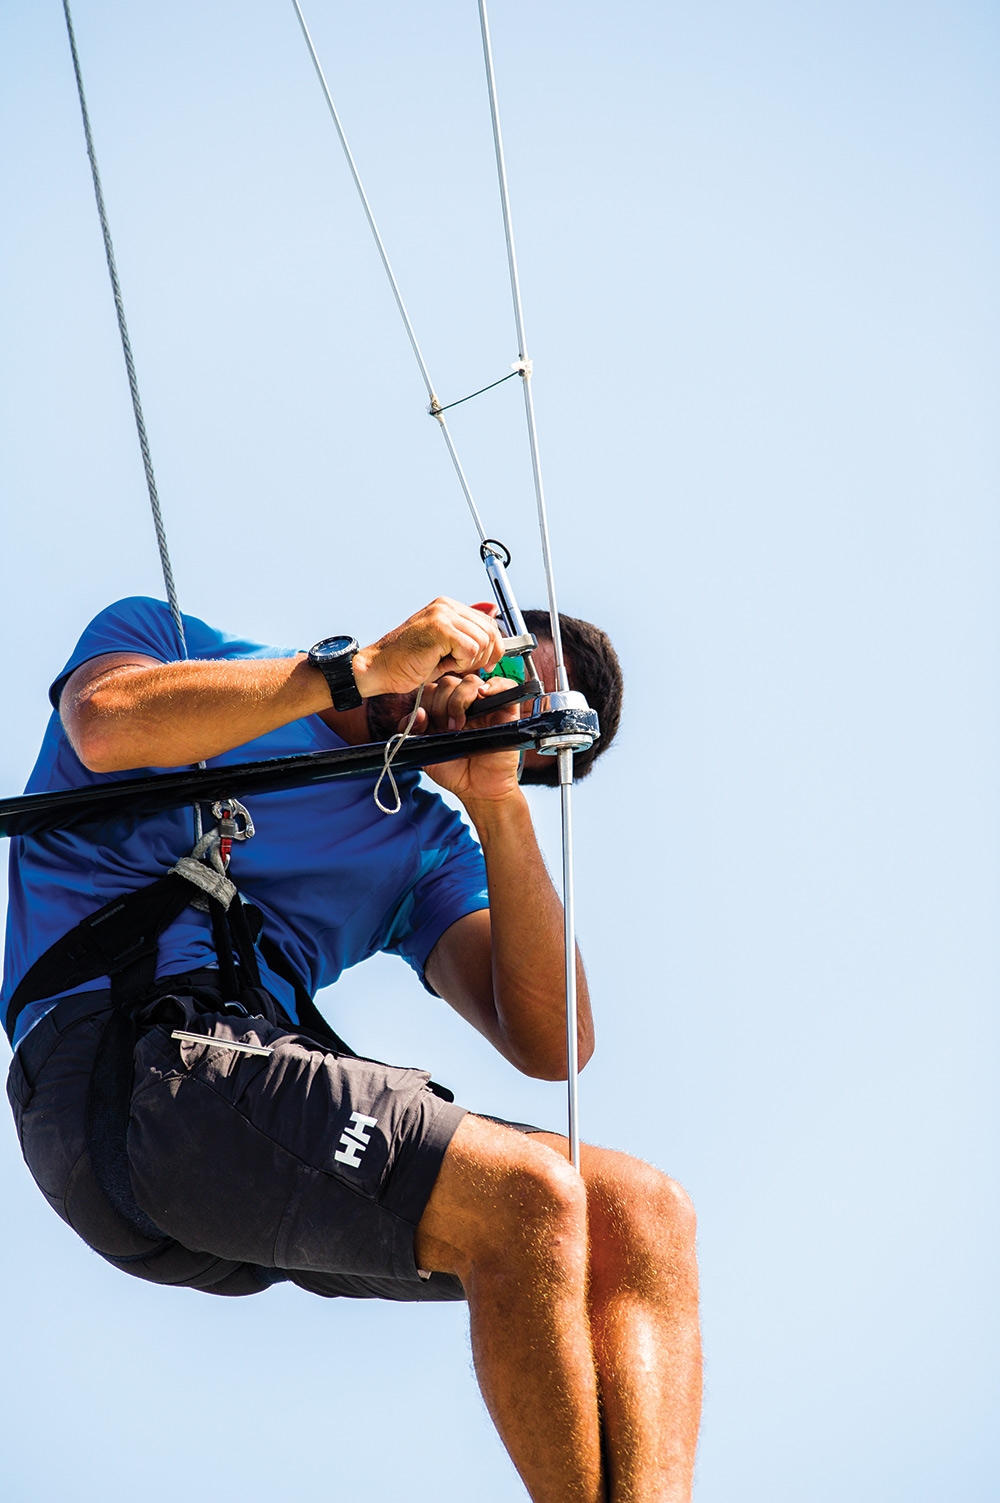
A properly tuned rig is important for safety and performance and it’s something that should be done at least once a year or anytime the mast has been unstepped. The key is to get the mast centered and straight in the boat. You can check if it’s centered by hoisting a 100-foot steel measuring tape on the main halyard and measuring the distance from the masthead to the rail outside the shrouds on each side. If all is well, the measurements will be identical. If not, use the turnbuckles to adjust the tip of the mast. You can adjust the rake by tightening or loosening the headstay and backstay. Tighten up everything from the top down, taking care to take the same number of turns on each side, to do your rough tune.
To fine tune, go for a sail in moderate breeze and set the mainsail and a headsail to get a comfortable angle of heel going. Line yourself up with the mast track and look straight up the rig. A well-tuned rig will be in column, with no wavy areas. Then tack and check the other side. It’s helpful if someone is aloft while you’re sailing to make adjustments on the leeward side. Odds are, you’ll have to do a number of tacks to get it right, but consider it a good excuse for an early-season sail.
Show your winches some love
Winches are an investment that can give you many years of use as long as they are properly maintained. Regularly flushing them with freshwater is a good practice for saltwater sailors, but every so often you’ll need to dig a little deeper. Any strange sounds coming from them or stickiness or slow movement is grounds for investigation. Winch manufacturers offer cleaning instructions, but it’s a good idea to arm yourself with spare pawls and springs (even if yours are in good shape as they have a habit of getting lost when you open the winch), winch grease, light lubricating oil and a camera before you start. The camera, of course, is so you can take photos as you go so when it comes to putting the puzzle back together, you will have a little assist. The good news is that if you’re cleaning a newer winch all those parts will only fit together one way, so as long as you’ve put all the parts that came out of the winch back in, if it goes back together and spins easily, you’ve done it correctly.
Make a list of all the safety equipment on the boat: Life jackets, harnesses, man-overboard units, Lifesling, flares, life rafts, EPIRB or PLB, fire extinguishers, radios and flashlights are among the more common items. Inspect every item on the list, making sure they are up-to-date and adequate for the type of sailing you do and the people you expect to sail with you this year. Make sure that inflatable life jackets have been rearmed recently, flares are not expired and put new batteries in flashlights. Keep spares of all batteries used on the boat.
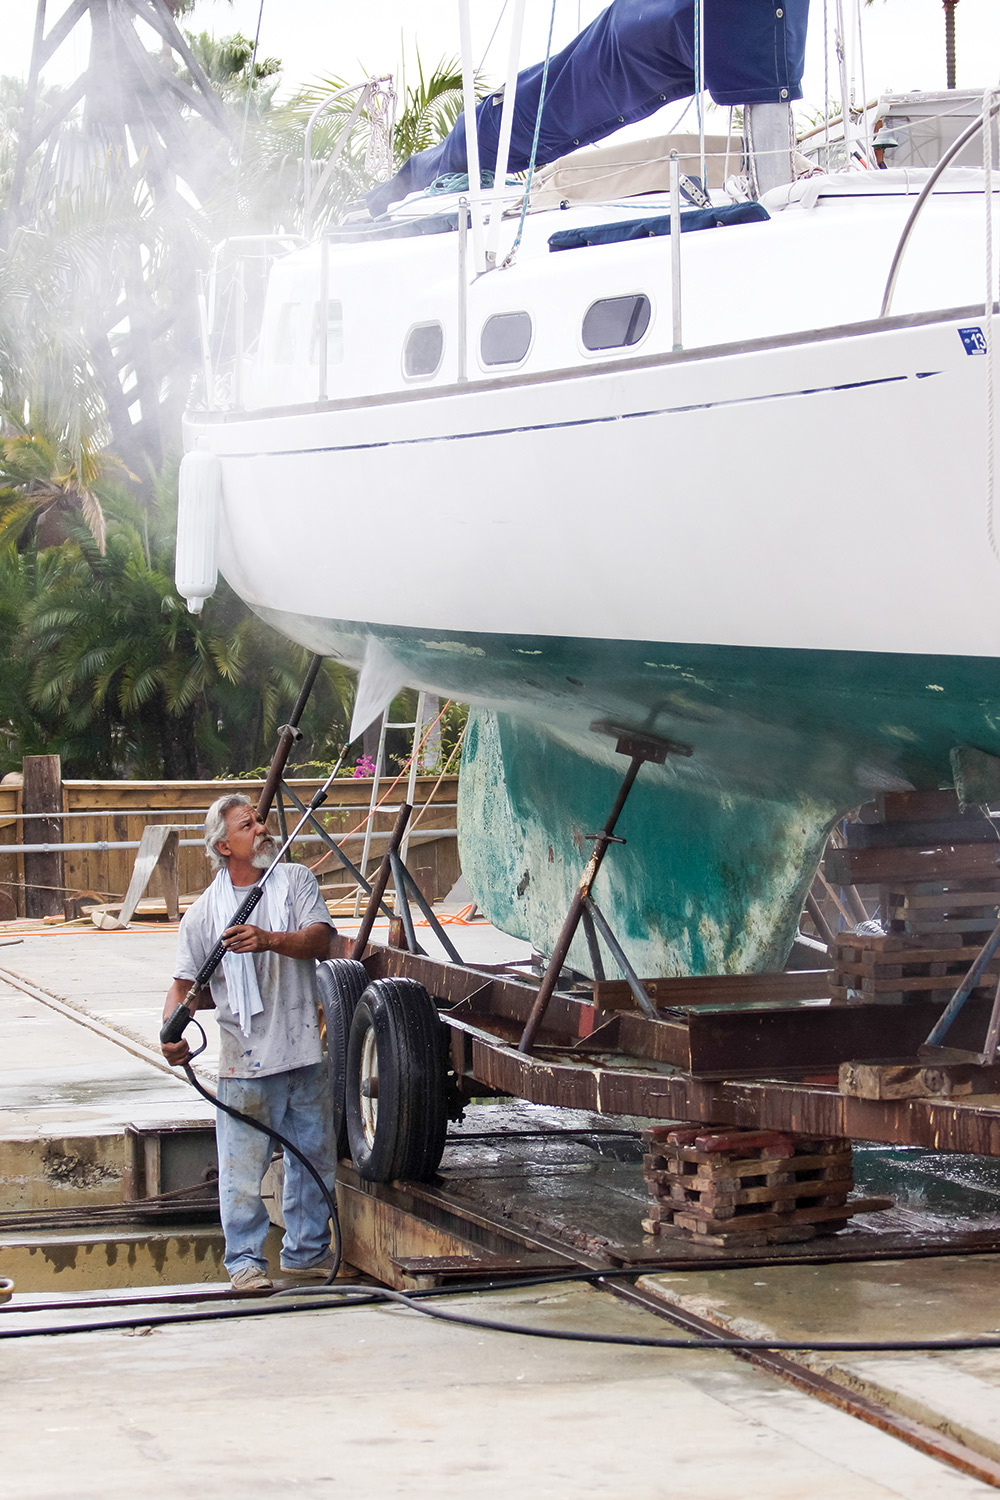
Assess the state of your boat’s bottom while it’s out of the water. Perhaps everything is looking good and all it needs is a good cleaning and a little burnishing. But if it has been a few years since you’ve repainted, talk to the boatyard about your options. Bottom care is perhaps the least fun maintenance on a boat, but it’s important to stay on top of it, not just for performance, but also because a neglected bottom can lead to serious trouble down the line.
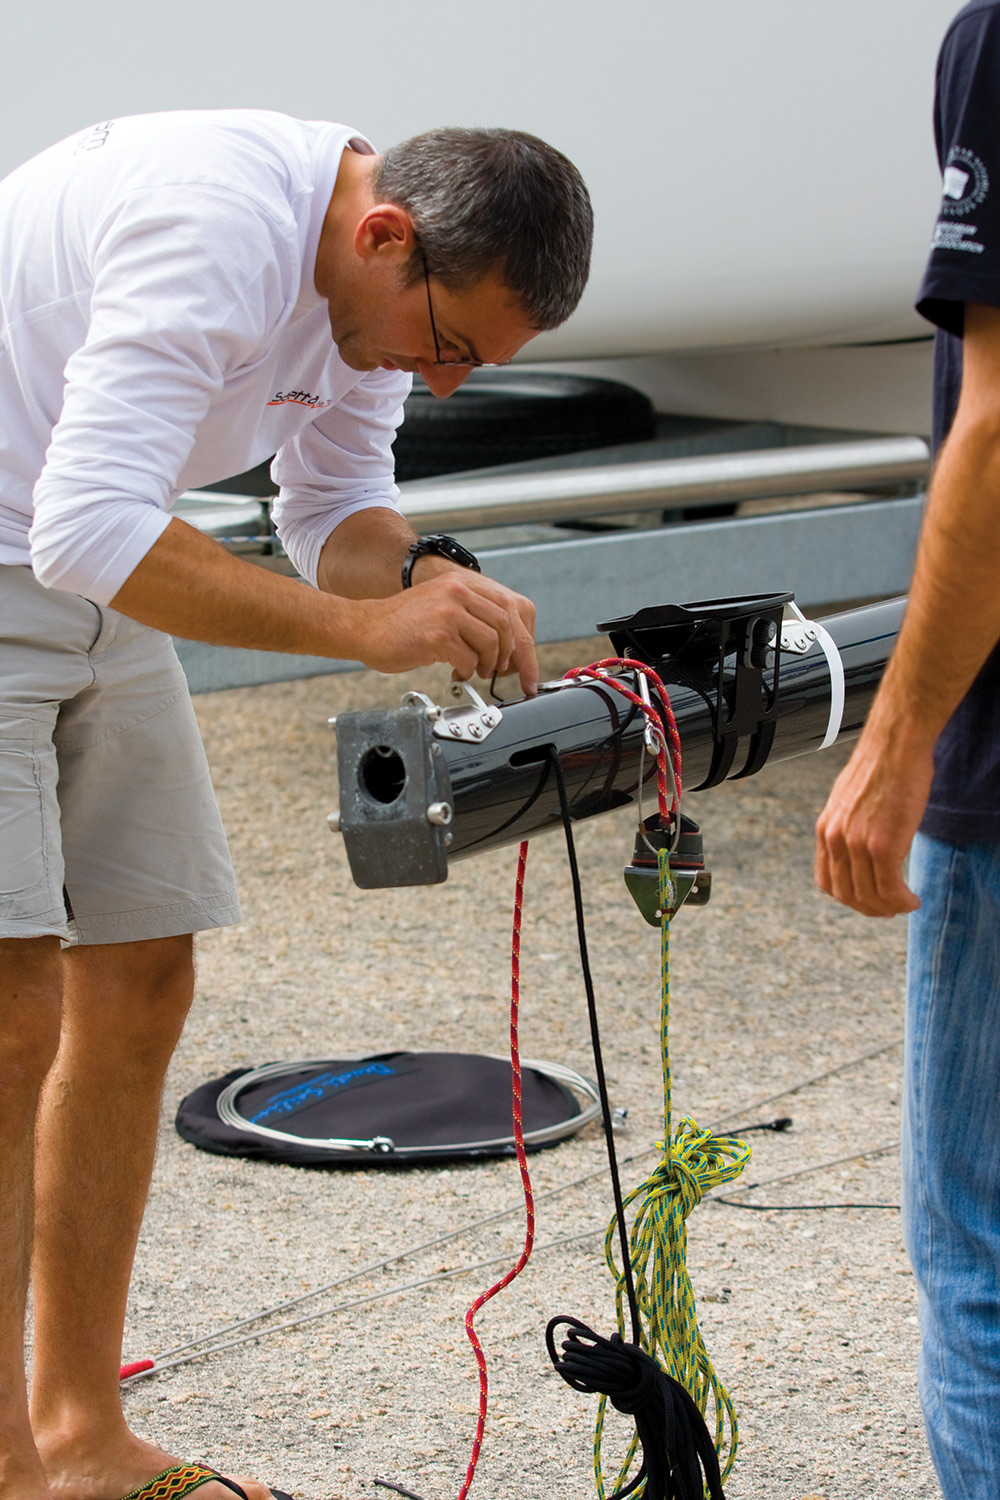
Clean the rig
If the rig is out of the boat, take advantage of the opportunity to study it on a horizontal plane and show it some TLC. At the very least, give it a good cleaning with a mild soap solution. Also consider buffing it to give it some real shine. Keep in mind though that while a slippery mast is aerodynamically efficient and good looking, it can make a trip up the rig somewhat more complicated. If you opt for the buffing step, make sure you use a buffing compound safe for the finish on your mast, be it painted or aluminum.
Replace bulbs in navigation lights
If you are still using incandescent bulbs in your navigation lights and it’s been a few years since you’ve changed them, swap them out with fresh bulbs. This is especially important for the masthead, steaming and anchor lights, which will be much easier to take care of if the rig is out of the boat. While you’re at it, consider switching to energy efficient, long-lasting LEDs that are specifically designed for marine environments.
Comments