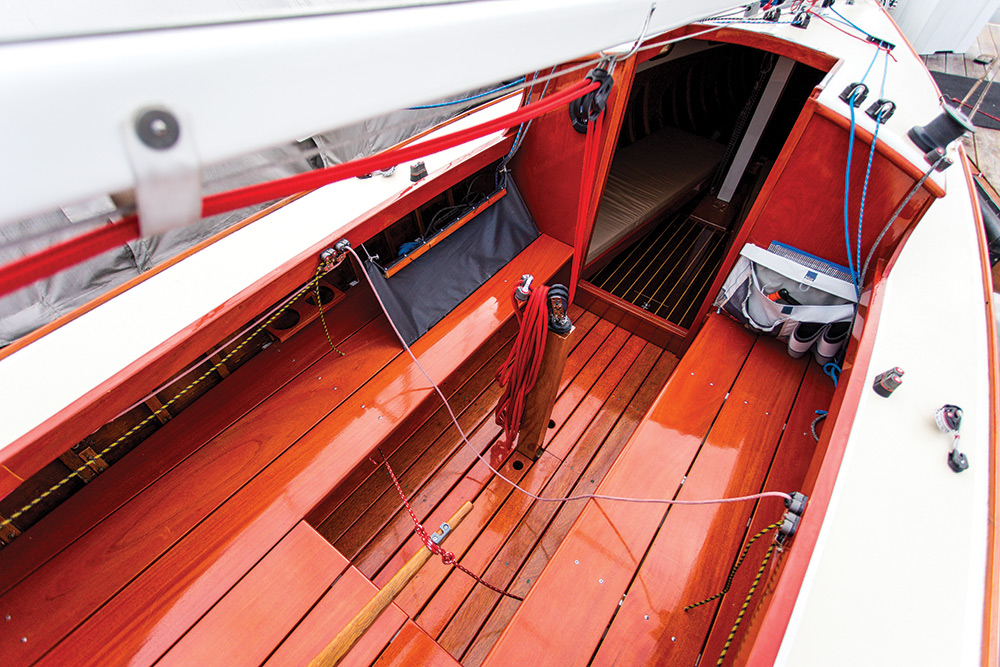
Spring spruce-up
Whether your boat has enjoyed a winter off or it’s time to take on some annual chores, our guide to fitting out will make sure your boat is ready for a great year of sailing

There are two kinds of DIY boat owners: those who enjoy the time and care it takes to get a beautiful varnish job, and those who’d rather do anything else. But few jobs give you the instant upgraded look of newly varnished brightwork. Before you take on a varnishing job, gather your patience, because it’s one project you can’t rush.
As with a good paint job, surface preparation is the most labor intensive and important part of the project. How much work you have to do depends on the current state of your wood, and can include just sanding with 220-grit sandpaper for wood that just has a few scratches to using a heat gun or chemical stripper to get rid of old finish. If you’re starting with rough wood, after clearing off old finish, start sanding with 80-grit sandpaper and work your way to a fine, 220-grit sandpaper.
Before you start applying varnish, do everything you can to eliminate dust, and if you’re varnishing outside, avoid windy days. Tape off the area to be varnished and use disposable foam brushes to apply varnish with the grain of the wood. Master varnishers will start by thinning the first coat by 20% with thinner and do subsequent coats—as many as nine—with straight varnish. Wet sand in between coats with 220-grit paper. Before the final coat, wet sand with 320-grit paper to ensure a glasslike finish.
Next: Replenish your spares

Comments