Replacing standing rigging
Quetzal’s rig gets a top to bottom refresh in preparation for a some big passages
I gather my notes into a spreadsheet before I go any further. The spreadsheet details each wire, including the diameter, the details of the terminal on each end and comments on any modifications that need to be made, such as shortening the wire to allow for more play in the turnbuckle.

There are a couple of options for building new wire. One option is to have a supply house swage new terminals on both ends. If you go this route, you’ll need to specify the wire, terminals and a precise length. You can also use mechanical terminals (such as Sta-Lok) and build your wires. I prefer a hybrid method, getting the wires with terminals swaged on the top end, and use a Sta-Lok on the bottom. This allows me to reuse the existing Sta-Loks, but more importantly, I don’t need to specify the length precisely. I am typically short of time but using this method I can measure the wire in place on the boat and order the material to arrive sooner than if I pulled everything off and then measured. You cannot measure a tensioned wire and duplicate the length: when a wire is tensioned, it will stretch several inches (depending on the diameter). It is possible to calculate and deduct for the stretch, but I prefer to specify the wire a little long and duplicate the length of the old stay.
Sta-Loks can be reused many times, but the clamping cone needs to be replaced each time. I polish each terminal and clean out the old sealant and thread locker with a round, wire brush used for preparing copper pipe fittings.
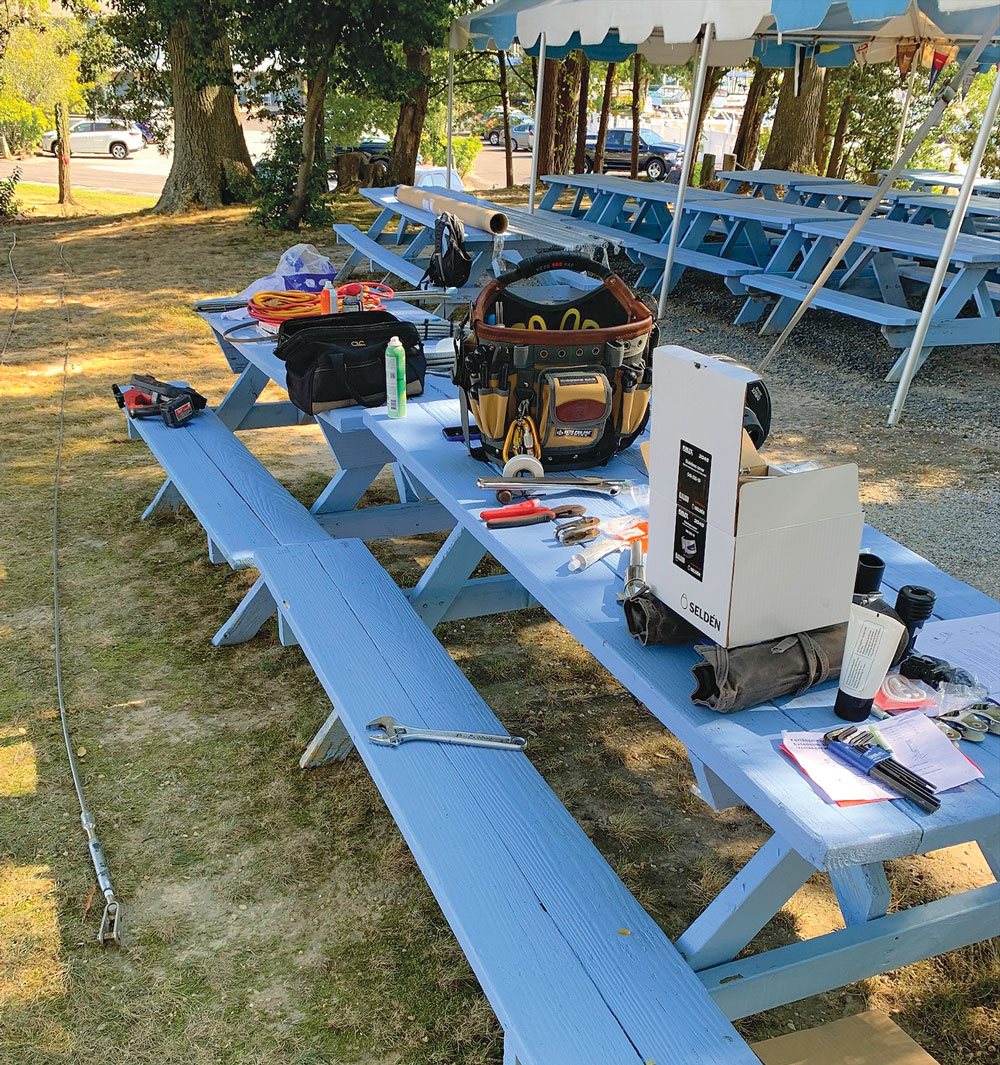
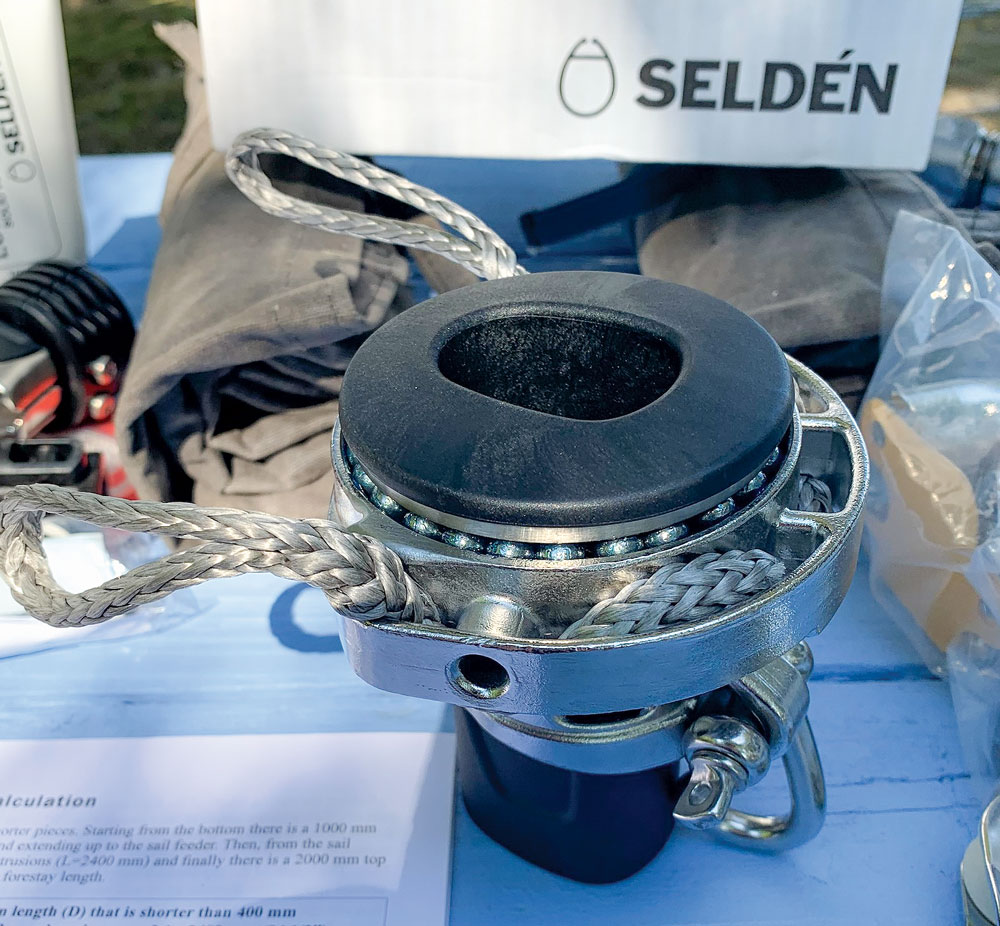
It took us a whole day to fabricate the new stays and a second day to build the staysail furler and replace the wire in the jib furler. Next, we reattached each wire to the mast and prepared the mast for hoisting with a crane. With the full rig built, I like to “walk the mast,” methodically going from terminal to terminal, ensuring everything is correct before hoisting the mast.

Hoisting the mast is always an event. Lifting anything that is almost 70 feet long and weighs more than 1,000 pounds is always exciting. But then you need to stand on its end and get it to go through a small hole on deck and seat into the maststep. Of course, this is all happening outdoors and on the water, a little puff of wind or an errant wake makes it that much harder.
The moment of truth happens once the mast is in the boat. Work quickly to pin each wire and hand tighten them. I am always a little tense at this phase, hoping all my measurements and calculations are correct and in this case they were.
John may have a little more faith in me than I deserve. His first sail was a little jaunt out to Bermuda, followed by a spirited passage to Saint Martin. The rig performed well, and Quetzal is now prepared for “The Big One,” John’s circumnavigation (via Cape Horn) beginning in 2022.
Sources:
Colligo Marine, www.colligomarine.com
Selden, www.seldenmast.com
Sta-Lok, www.stalok.com

Comments