Installing an electric head
Simple electric heads are better than they used to be and can easily replace a manual model
When a marine head goes bad there is usually a story to tell, and it’s never a good one. A clog or a leak can ruin a weekend. Even a properly working head can be awkward to explain to guests, “Well, you do your business, flip this lever, pump this lever and then don’t forget to flip that lever back or you can sink the boat!” Invariably, the guest has a problem. Often they ask for assistance that is neither fun to request or give. Or worse, they don’t ask.
My boat has a Groco KH head, this is a reliable head with a large bronze pump. The pump has a lever on the side that you pump while letting in raw water with a pedal. For some reason, people have had a problem pumping and pushing down that little pedal at the same. And to add to the fun, every once in awhile the valve at the base of the bowl will leak causing liquid to spit as you pump.
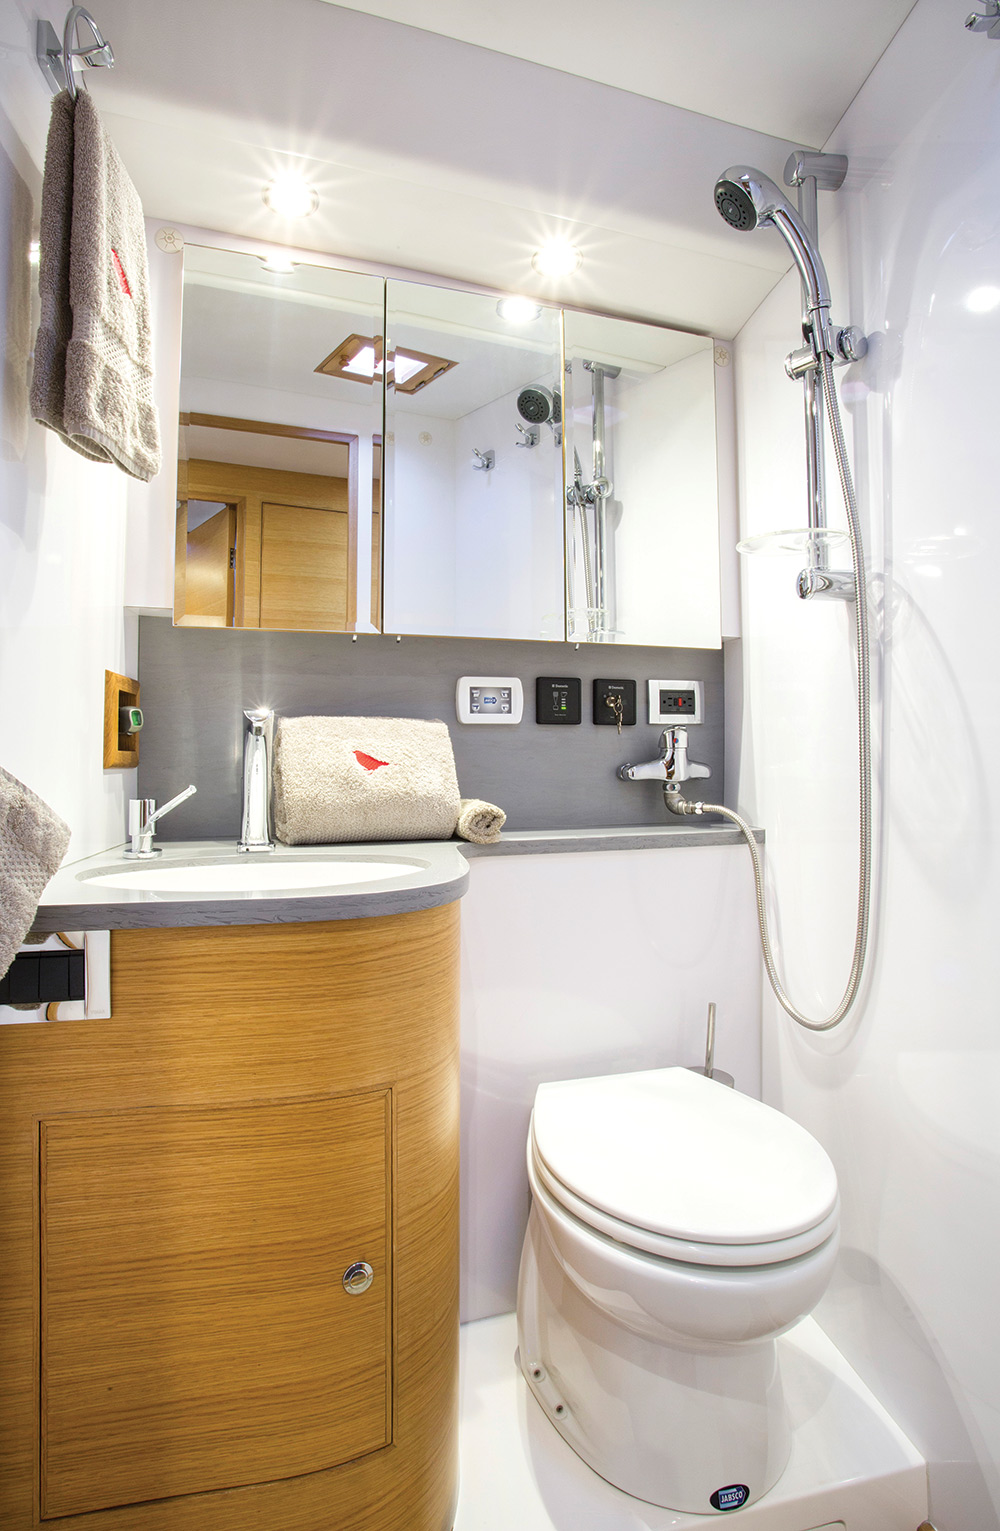
Finally having enough, I set out to make my onboard potty life a little more civilized with a new head, and giving great pause to the traditionalists of the world, an electric model. Before you call me a nut, let me preface this by saying that electric heads have improved in recent years. In the past, so-called electric heads were just manual heads that had been accessorized with a motor and seldom worked well. Unless conditions were just right, these heads could easily clog to epic proportions.
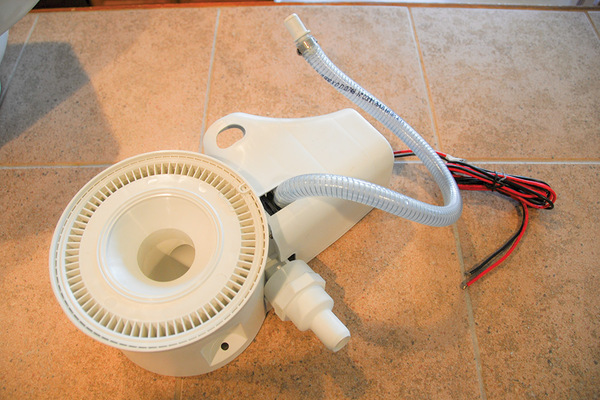
Newer electric heads are designed from the ground up to be electric, and while they don’t offer a manual backup solution, they do work well. The key to good performance is a macerator pump in the base of the head, as waste is evacuated it is ground to a slurry.
Electric heads do use a little electricity, about 20 amps for the short time that they pump. This is a lot of instantaneous current, but the pump time is short enough that it doesn’t add up to much. They may use a little more water than a manual head, but that depends on how you use your manual head, typical consumption is about 24 ounces per flush. I have found pumping a lot of water through a head keeps it working and smelling better. In the interest of full disclosure, electric heads can also be a little noisy, the motor and attached macerator pump will be noticeable; push-button convenience comes at a cost.
There are essentially two types of electric heads, the vacuum head and the macerator. The classic vacuum head uses a small remote vacuum pump to suck out the bowl contents when you flush, which is similar to a typical residential toilet. A macerator head has a dual-purpose pump in the base of the head to evacuate the bowl and macerate the contents and to bring water into the bowl to rinse it. There is also a new high-performance macerator toilet design that uses a special pump to quickly empty the bowl and a coordinated water fill mechanism to manage water in the bowl. This design gives a residential experience with a pump in the base of the toilet.
The toilets with the best user experience are the new high-performance macerators, but these cost between $800 and $1,500. These toilets also require pressurized freshwater flushing, and I am not willing to flush precious fresh water down my toilet. Vacuum heads also work well, but require a remote vacuum pump and also flush with freshwater. I was looking for a drop-in replacement for my manual head.
Using freshwater dramatically cuts down on the smell of a head. Head odors can come from human waste, but a large amount comes from the lingering salt water that sits in the pump and hoses. As the water sits, the tiny organisms in it will die off and give off an odor. The downside of using fresh water is that you “waste” fresh water on every flush. If you opt to run fresh water to the head, the installation is fairly simple; just plumb a water line to the head. A head that supports freshwater flush will have a water valve and backflow preventer to protect your water system.
A simple electric head can replace a manual one without much fuss. You need a ¾-inch water fill line, a 1½-inch waste discharge line and 12-volt power. mThe existing supply and waste line may line up, but you’ll likely need to move one or both.
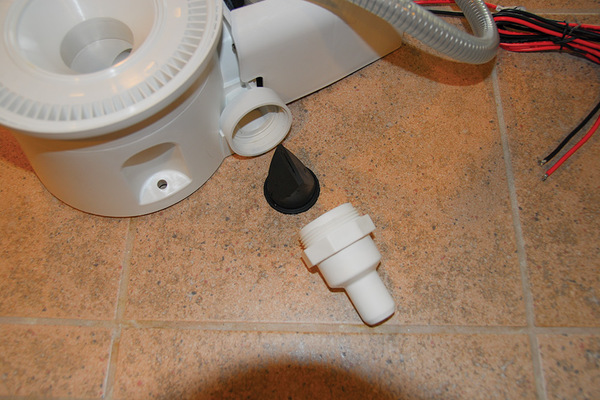
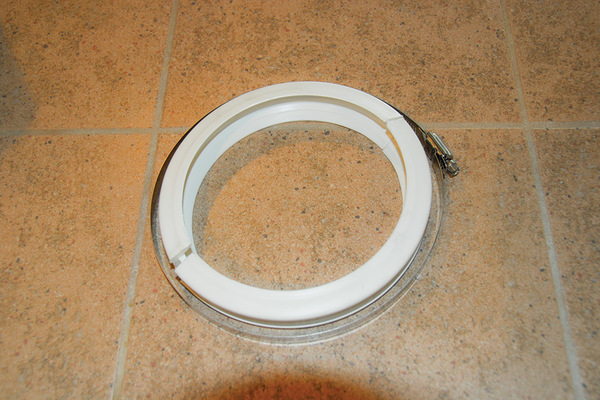
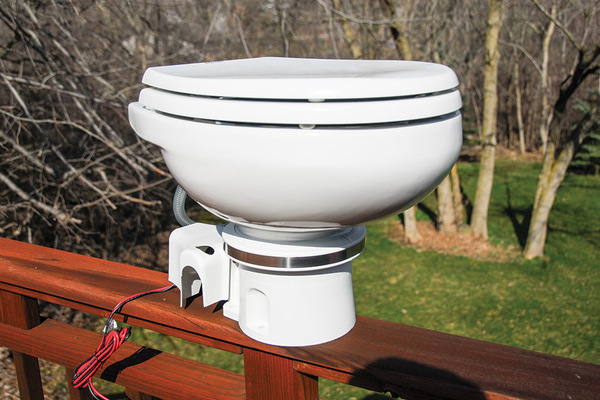
I chose a Dometic Orbit electric head for its size, price and installation options. On this head the bowl and pump are separate units held together with a large hose clamp. This allows the pump to be installed in any orientation and the bowl can be installed to match the layout of the head space. In the event you need to work on the head, the bowl easily removes, giving easy access to the pump components.
The first step is to remove the old head. This involved slipping the old hoses off and unbolting the base. With the old head out of the way, thoroughly clean the head space with a bleach solution. After a while, all head discharge hoses will get smelly, so you may want to replace the discharge hose with a new length of the best hose you can find. Good wastewater hose is expensive but well worth it.
If the discharge on the new head is in the same location as the old head, you won’t need to do anything. But if the discharge of the new head is on the opposite side, you will want to either patch the hole in the head base or cover it in some way. I installed a half-inch piece of StarBoard-brand HDPE marine lumber, which is made of plastic and will not rot, under the head. This gives a very easy-to-clean surface and hides the hole from the old hose. Then bolt the base in place and fit the bowl on top.
Next, I was on to the electrical work. The head requires 20 amps of power and may require a new breaker or you can piggyback on a lightly used existing breaker. Choosing cable that is the right size for the distance and load is important. For instance, a head that is 8 feet from the electrical panel requires a 16-foot round trip, so a 12-gauge cable is required.
The flush switch needs to be located close to the head, obviously, and one easily mountable option is the cabinetry behind the head compartment. Lead the cable to the switch location, running along other cables that come into the head and secure it in place with wire ties as you go. The switch is designed to flush mount in a panel and comes with a cutting template.
With the electrical components run and everything connected to the head, test the installation by opening up the water inlet through-hull and pushing the flush button. Do a cursory check for leaks in the inlet as well as the outlet plumbing. Then add a couple sheets of toilet paper to make sure it pumps through.
Push-button flushing can be a beautiful thing. Any guest will understand how to work the toilet, and I am happy to say that I haven’t had to flush for anyone. That alone can be worth the cost, power consumption and a little noise.
Helpful head hints
• You don’t need to purchase marine specific toilet paper, but your head will work better with it. Marine paper is designed to quickly dissolve in water. If you use residential toilet paper, get the thinnest, cheapest kind you can find.
• Don’t flush anything besides a very small amount of toilet paper and human waste. Anything else is likely to clog the system.
• Don’t use household toilet cleaning chemicals in your boat’s head. They can damage the plastic and rubber parts of the system. For the safest results, use cleaners designed for marine head systems.
• Head odor control chemicals will make a difference in the smell of your system, and if used consistently, they will help.

Comments