How to polish a hull back to a super shine
Modern marine paints don’t take well to buffing, but polishing with a ceramic coating can bring new life to old paint jobs
Marine paint has come a long way. Modern paints are amazing, they are shiny and colorful, abrasive resistant and survive many years under the punishing rays of the sun. They stand up well, but over time will show their age with surface abrasion from fenders, dock scuffs and the unavoidable haze of age. Common wisdom holds that you can’t buff this paint, but you can lightly polish it to bring back a lot of life.
Most marine paints are two-part polyurethanes. This type of paint cures with a very hard and shiny surface layer, but the layer is relatively thin. Compared to automotive paint, where the finish is the depth of the paint, marine paint has a thin crispy shell over the rest of the foundation of the paint. This top layer is where the magic happens and without it, the paint would be more porous, less durable and not nearly
as shiny.

Traditional marine buffing with a rotary buffer and wool pad is aggressive by definition, and it removes surface-level paint or gelcoat. In many cases, it is too aggressive for paint. If you aggressively buff marine paint, you can remove the surface finish. Even if it looks shiny, you have likely degraded the paint.
In the last decade, buffer and compound technology have advanced greatly. Buffers designed for fine polishing no longer have forced rotation, they spin but stop if you apply too much pressure. They also orbit as they spin, making lateral movement within the rotation of the pad. This extra motion allows the pad to do more work without a forced rotation and a lot of pressure. Polishing compounds have changed too. Smaller, more uniform abrasives, give a controlled cut, and these abrasives diminish as you cut, leaving a nice finish.
Protective wax has been with us since the beginning of time, but today’s surface protectants are a world away from the can of wax we used as kids. Today’s “wax” is a complex blend of polymers that work far better than that tin of wax you’d find at the hardware store. Marine sealants up the game even more, giving even longer lasting protection.
The real game changer these days is ceramic-based coatings. These products serve the purpose of traditional products, adding shine, slickness and dirt repellency, but take a very different approach. These coatings are ceramic (think liquid glass) in the form of quartz or silicon dioxide, dissolved in a solvent-based carrier. You simply wipe it onto a clean surface, allow the solvent to flash off a bit and wipe it back off. The underlying ceramic material is evenly distributed on the paint and very tenaciously adheres to it. The resulting microscopically thin coating is very shiny, slick, and gives UV protection. The lifetime of these coating is measured in years, not weeks to months.
Coatings typically come as a multipart system. There is a base coating to strongly adhere to the paint and add color depth, and a second layer to add more shine and dirt repellent properties. Once in place, you can maintain them with an easy spray-on, or even a hose-on, maintenance product. GTechniq’s marine line follows this pattern, Marine Ceramic Base Coat is the base layer, Marine Ceramic Top Coat is the second layer, and Marine Ceramic Fast Coat is the easy-to-use maintenance product.
You need to be a careful consumer in this coating world. Marine coatings have been around for a while, in different forms. I can remember 20 years ago when “new finish” type products were a thing. This was essentially Mop-and-Glo for your hull: it looked good for like a week and then faded away. Even “ceramic” coatings can be risky, because a lot of products claim to qualify as ceramic coatings. You want to look for a true ceramic coating like GTechniq’s line. These products are easy to apply and last a long time.

Ceramic coatings give incredible protection, but they are not magic. They protect a surface but can’t restore one, so you need to start with a clean, shiny surface. Coatings work on gelcoat as well as paint, but the process is a little different. You need to make sure to aggressively clean and polish gelcoat (possibly even wet sand it) before applying the coating, or the surface may continue to oxidize beneath the coating.
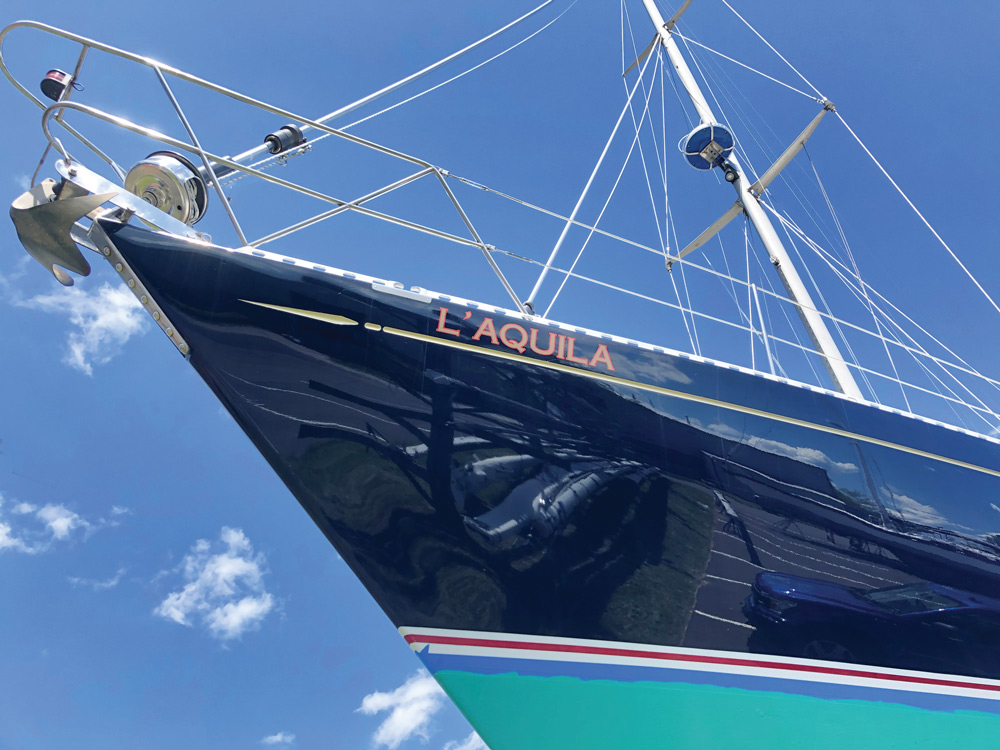
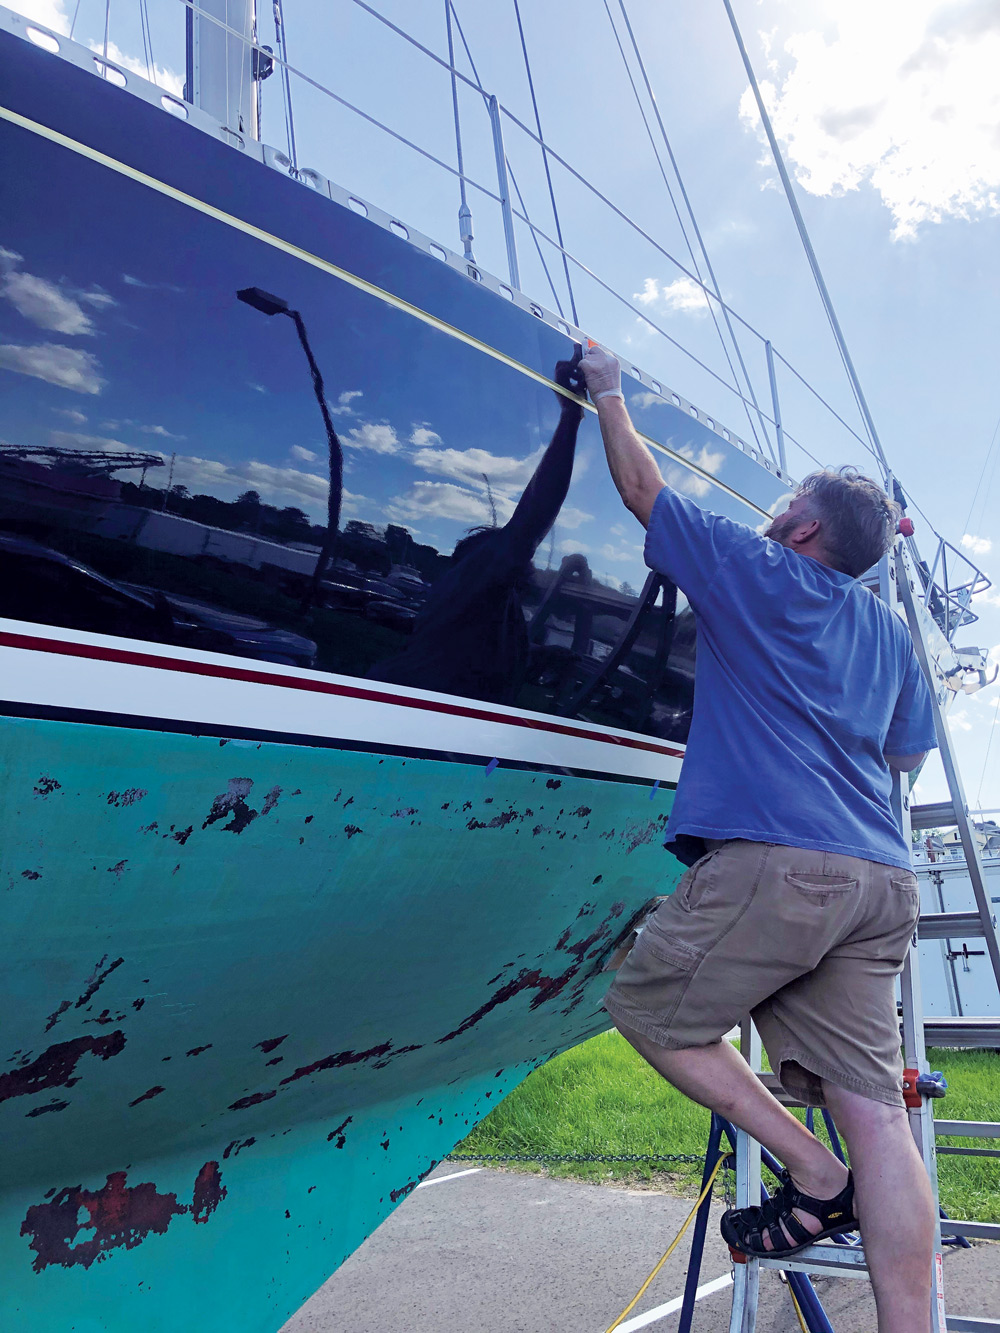
To put all this into practice, I decided to clean up my 1983 Stevens 47. My boat was painted with Flag Blue Awlgrip almost 20 years ago. Ignoring some dock scuffs, the paint was all there, but was showing its age, and a navy blue hull shows everything. I planned to polish the hull and use modern surface protection to keep my hard won shine in place for a while.
I used dishwashing liquid to clean the surface. Typically, I would warn away from dishwashing liquid, as it removes the wax or sealant on your boat, but in this case, you want to decontaminate your hull by getting everything off.
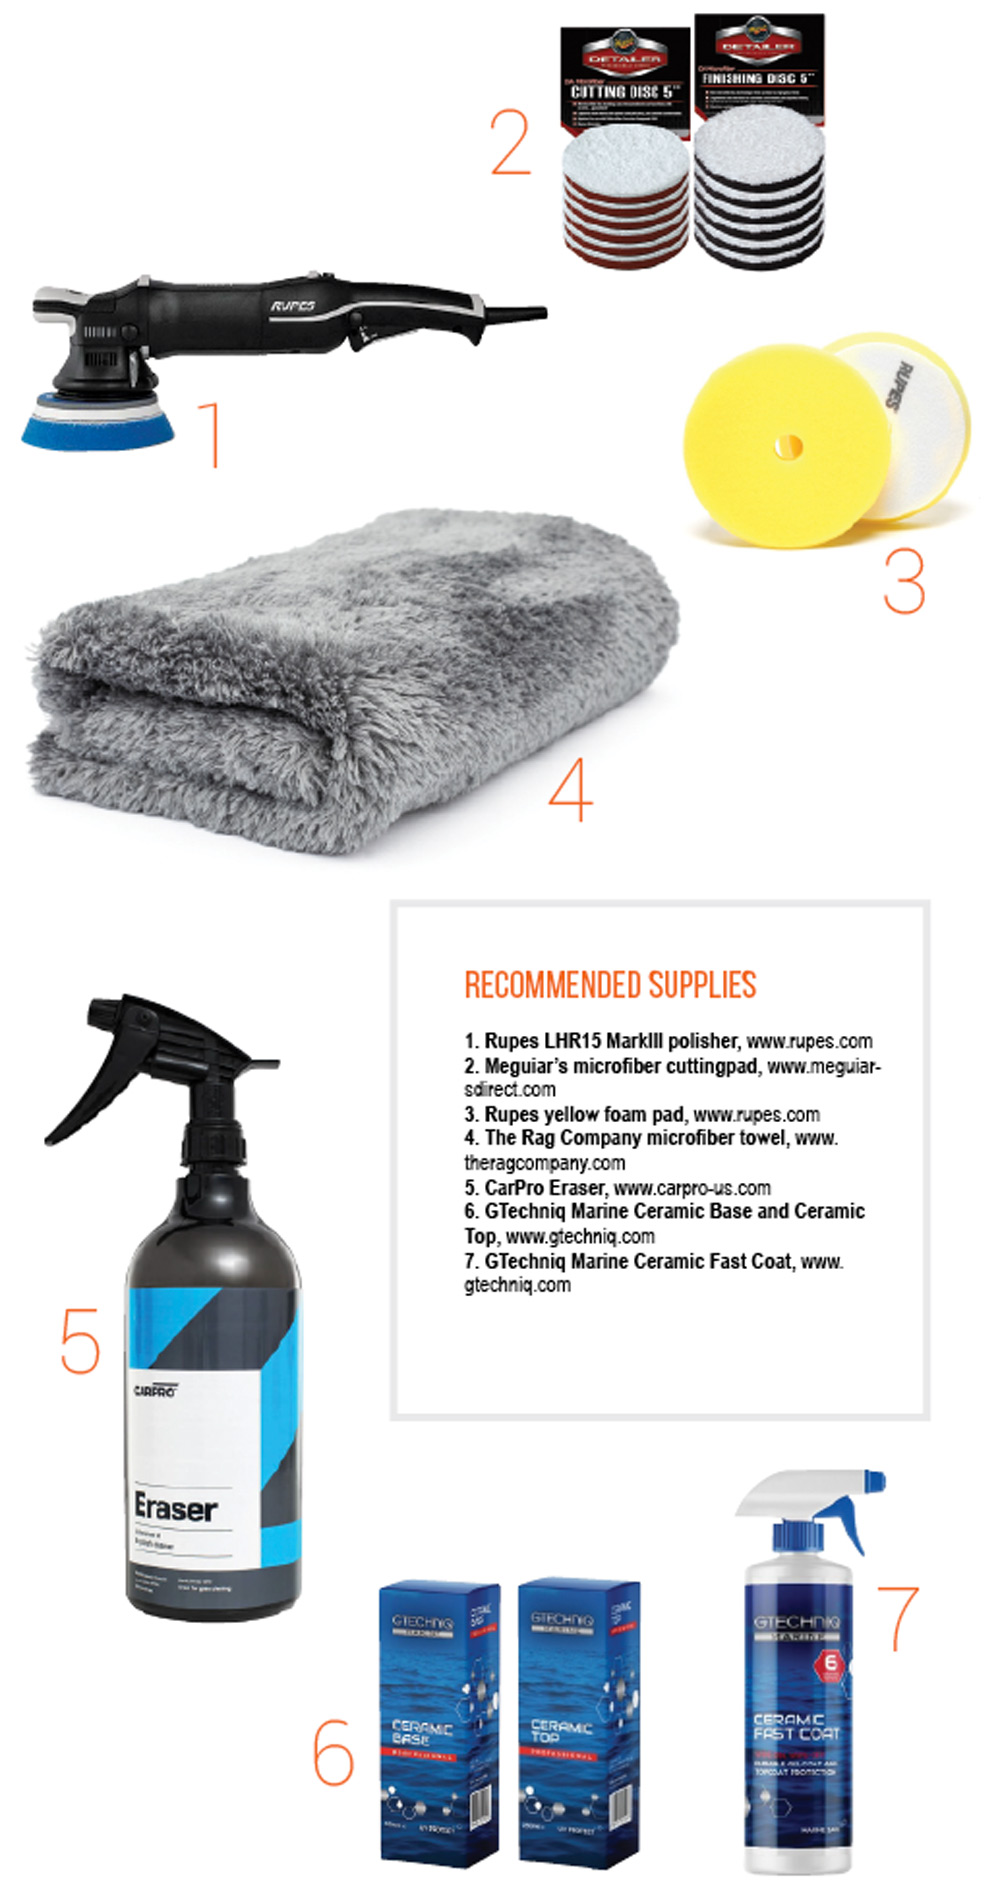
The next step is polishing. My favorite polisher is the Rupes LHR15 MarkIII. This is a professional level polisher, and at a professional level price. A dual-action long-throw polisher like the Rupes is what you want, but there are cheaper versions available from Porter-Cable, Flex or Griot’s Garage.
Buffing takes a bit of practice, but it’s not difficult. Apply a few dots of polish to the pad, and run the buffer at a medium rotational speed. Keep the pad flat and let the polisher do the work, focusing on a 2-foot-square area at a time and moving in a crosshatch pattern.
I apply and buff with a machine and wipe off the polish with a high-quality microfiber towel. I started my polishing with a microfiber pad and Jescar Correcting Compound, which gives a moderate cut and leaves a reasonable surface. I followed with a second step using a mild foam pad and Sonax Perfect Finish, leaving a mirror finish. I spent about 12 hours on the machine polishing 47 feet of hull.
At this point, the hull looked good, I now needed to keep it that way. The first step in a coating job is to make sure the surface is really clean, you need to remove any residue from the polishing steps. My go-to surface cleaner is CarPro Eraser, this is an alcohol-based product that will leave the surface squeaky clean.
OK, we are finally ready to start on the ceramic coating, and it’s the easiest part. In the bottle, a coating looks like low viscosity oil. To apply, you drip a little of the liquid on the applicator and just wipe in on. You want to be sure to cover the surface evenly and work in roughly a 2-foot-square area. After you wipe the material on, you let it sit for a bit and wipe it off with a dry cloth and then follow with a second cloth to make sure it is all buffed. There is no “let it dry” or hard buffing, just wipe on and wipe off. The dwell time will vary with the surface temperature and the sunlight, working in the shade will give you a little more time but full sun works just fine.
My favorite applicator is the CarPro sponge, with their microfiber applicator cloth over the top. I like a low-pile microfiber towel for the wipe down, a towel like The Rag Company’s Pearl towel. Do be aware that your towels and the applicator cloth are one-time-use, ceramic coatings do not wash out. After the towels dry, they will be stiff and quite hydrophobic.
After the application of GTechniq Marine Ceramic Base, you’ll see the squeaky clean is now silky smooth clean. The surface will be slick and especially darker colors will look deeper and richer. You need to let this layer cure, hopefully keeping it dry, so plan with an eye on the weather. Once cured a couple of hours, you can follow up with Marine Ceramic Top, applied in the same way. After a day or so, you can spray on some GTechniq Marine Fast Coat, but this is optional.
Going forward you have a surface with better protection, but you’ll need to maintain it like you always have with washes every few weeks. If it starts to look dull you can wipe on some Marine Ceramic Fast Coat. In a year or two, it may get scuffed again, but you can just give it a light buff and apply another layer of Marine Ceramic Top and be good for another year.
This process and products are remarkable. I was impressed as I was doing the work, and I had countless people walk over to explore what I was doing and how I was getting such great results.


Comments