
Replacing standing rigging
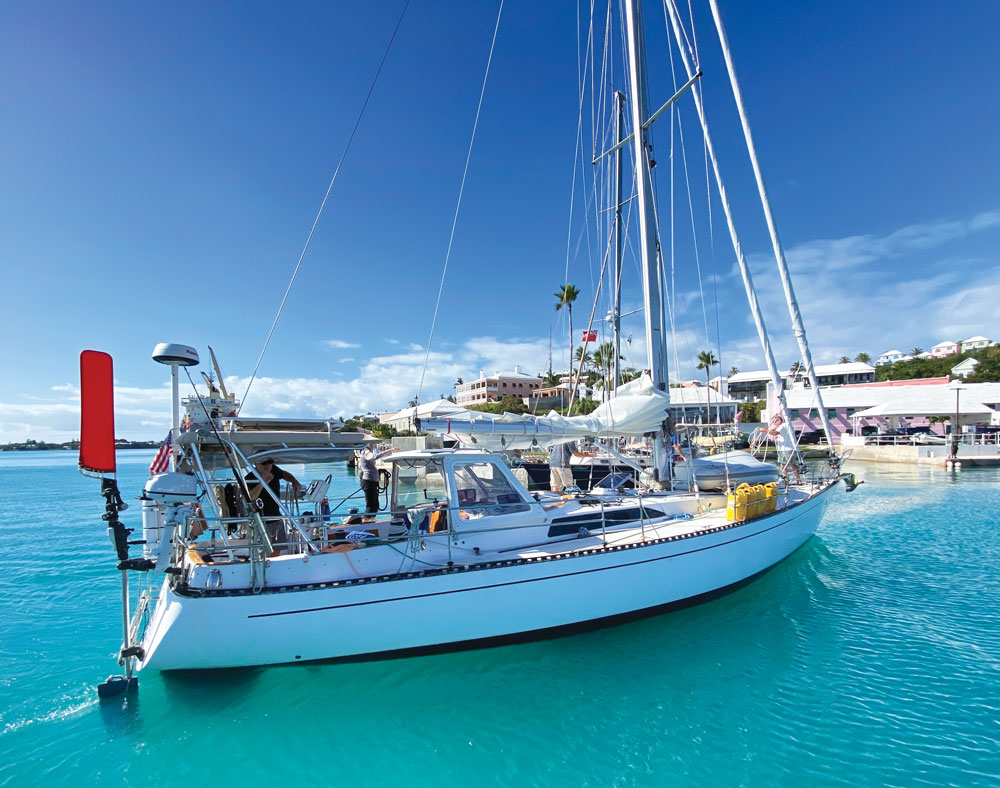
Quetzal’s rig gets a top to bottom refresh in preparation for a some big passages
Standing rigging is not set it-and-forget-it equipment; it requires maintenance. All that shiny stainless steel wire and hardware look indestructible, but it wears out over time. As a boat is sailed, the rig gets stronger but also grows more brittle. The technical term for this is work hardening. Eventually brittleness wins, and the metal will break under load. Corrosion is also at play in your rig. Stainless steel is just steel that “stains less” but it still corrodes over time. Good materials and the correct application will extend the life of your rig, but it is still finite.
I recently partnered with SAILING Contributing Editor John Kretschmer to replace and update the rig on his Kaufman 47 Quetzal. John makes a living taking sailors on sail-training passages and sharing his insights gained on a lifetime of bluewater sailing experiences. Five thousand to 10,000 miles a year is average for John, and these passages take place in transitional weather and cover a lot of latitude. In other words, he sees a lot of heavy weather. More miles mean more load on the rig, and more wind means even more load. Quetzal spends a lot of time in the tropics, and tropical water is, on average, both saltier and warmer, two factors that increase corrosion.
The expected useable lifespan of a rig is five to seven years for any boat that is sailed hard. Quetzal’s usage pushes it to the lower end of the range. More important than time duration, is the number of miles sailed, and about 30,000 miles is a good milestone.
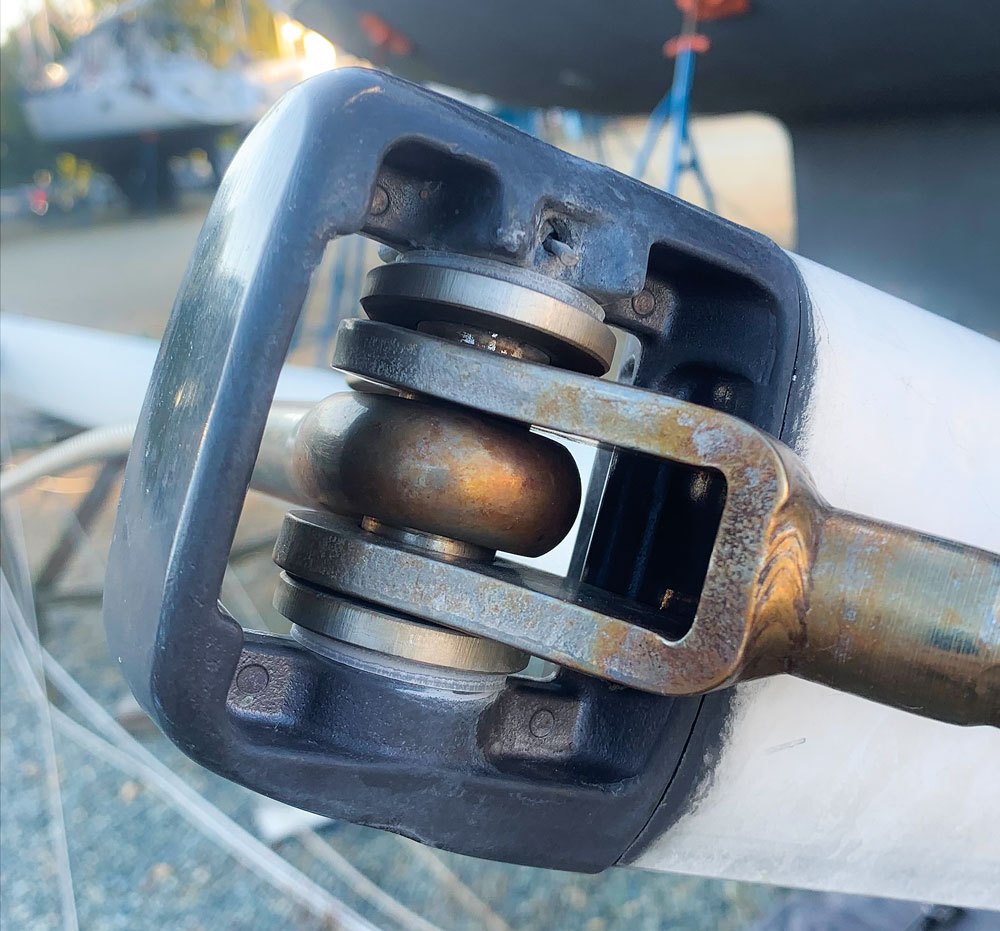
Whenever I start working on a rig, I like to take stock of what is there and how it fits. You don’t want to redesign on the fly, but you also don’t want to duplicate anyone’s mistakes. Turnbuckles should be roughly centered, about halfway open. If any turnbuckle is almost bottomed out or very open, take note and adjust when you cut the new wire. As you take things apart, make sure the pins fit the holes. If you put a little pin in a big hole, it will fit, but the pin will point load the hole and potentially distort it into an egg shape.
On a more holistic scale, look at the rig overall. Check that the wire leads perfectly fair from the mast tang to the chainplate. The backstay and any forward wires should toggle both fore and aft as well as athwartships. If toggles are missing, note them and add them when you fabricate the new wire, shortening the wire to allow for their length. The shrouds, or side stays, don’t have toggles but need to lead well. Quetzal had a problem with its aft lowers, the mast tang held the shroud a little high. Each time the rig would load, the wire would deflect, and eventually, the stay parted. We corrected this by slightly bending the top terminal on the wire.
It’s also a good time to consider any changes or upgrades. For example, do you want to add a backstay adjuster? John sails Quetzal as a cutter, with a hank-on staysail. As much as he hates to admit it, handling a hank-on sail is a hassle. On this re-rig, we added a Selden furler on the staysail. It will take a minor recut of the staysail, but life is better with a furler.
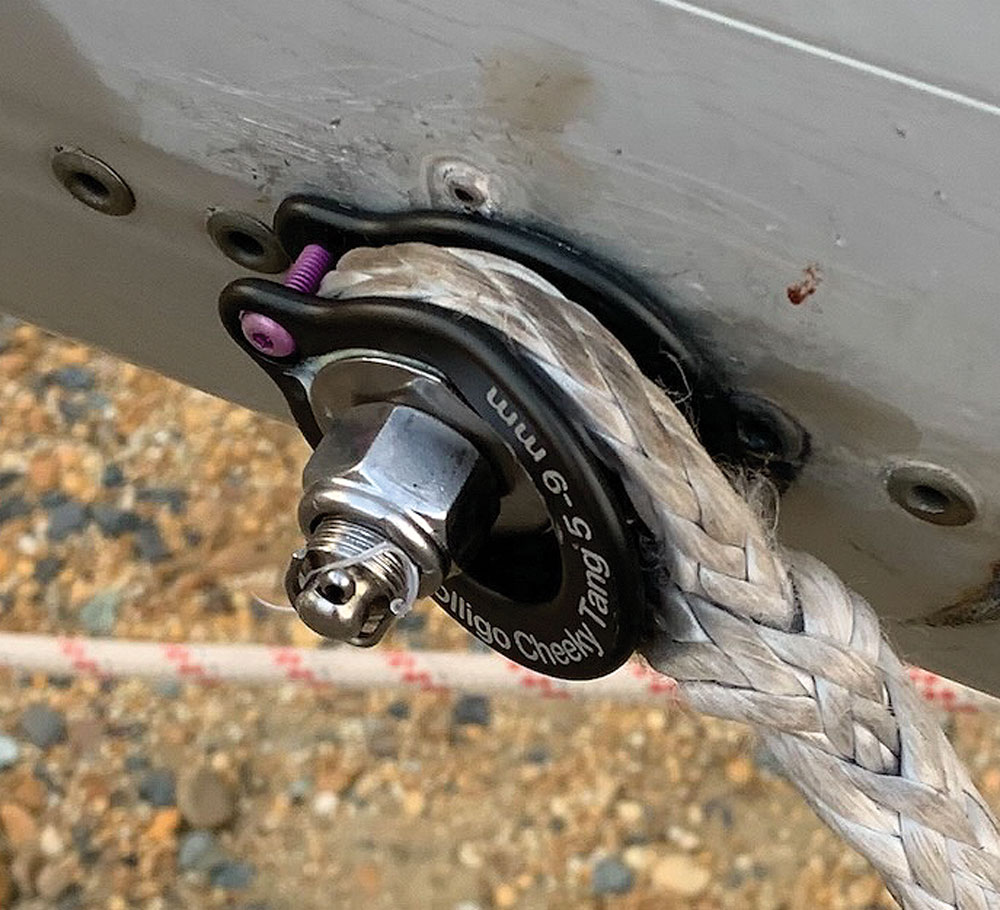
Since Quetzal is a cutter, it requires running backstays to support the staysail. Without a runner, the staysail will cause the mast to pump in a seaway. Many years ago, we replaced John’s wire runners with Hampijian Dynex Dux, but this time opted to use Colligo Cheeky Tangs to attach the runners to the mast. These tangs provide a large smooth radius for the cordage and attach easily to the mast.
It is much easier to refit a rig with the mast pulled, but it can be done in place, one wire at a time. We pulled the mast so we could inspect everything and replace some electrical wiring. If there are any complicated parts on the mast, take photos. Spreader tips can be confusing when it comes time to reassemble. I pull each wire and tag it, because a pile of wire on the ground can get confusing. If you choose to replace the rig in place, one wire at a time, be sure to support the mast with spare halyards. Unless you have a lot of experience and are very comfortable working aloft, pulling the mast is the safe option.
With the entire rig apart, take the opportunity to clean things up. If you have access to a wire wheel and buffing wheel, you should polish each clevis pin, toggle and turnbuckle. They will look nice and will go back together that much easier.

Comments