
New season, new paint
A fresh bottom paint job and a topside touchup will have your boat looking and sailing great
A protected and fair boat bottom looks good, but it’s the performance-related benefits that make a good bottom job worth the work, and the price.
The first step in any bottom job is choosing the right paint for where a boat sails, the boat’s typical use and application type. Like most things in life, bottom paint is a compromise between longevity, smoothness and ease of application. A cruising boat that winters in the Caribbean will have much different bottom paint needs than a grand prix racing boat in the Great Lakes.
Switching between bottom paint systems can sometimes require getting the bottom down to a fresh surface. For instance, Interlux VC-17m is a great paint for fresh water or low-fouling salt water, but it won’t stand up to the tropical saltwater, so boats heading south will have to start from scratch.
Changing from VC-17m to a different type of paint requires us to remove all the VC-17m, so it’s also a good time to make any minor tweaks, such as raising the level of the bottom paint and boot stripe. Raising the level of the boot stripe can create an illusion of a little less freeboard or help get the waterline to a more realistic location on a boat that is loaded up with lots of gear and floats a little low.
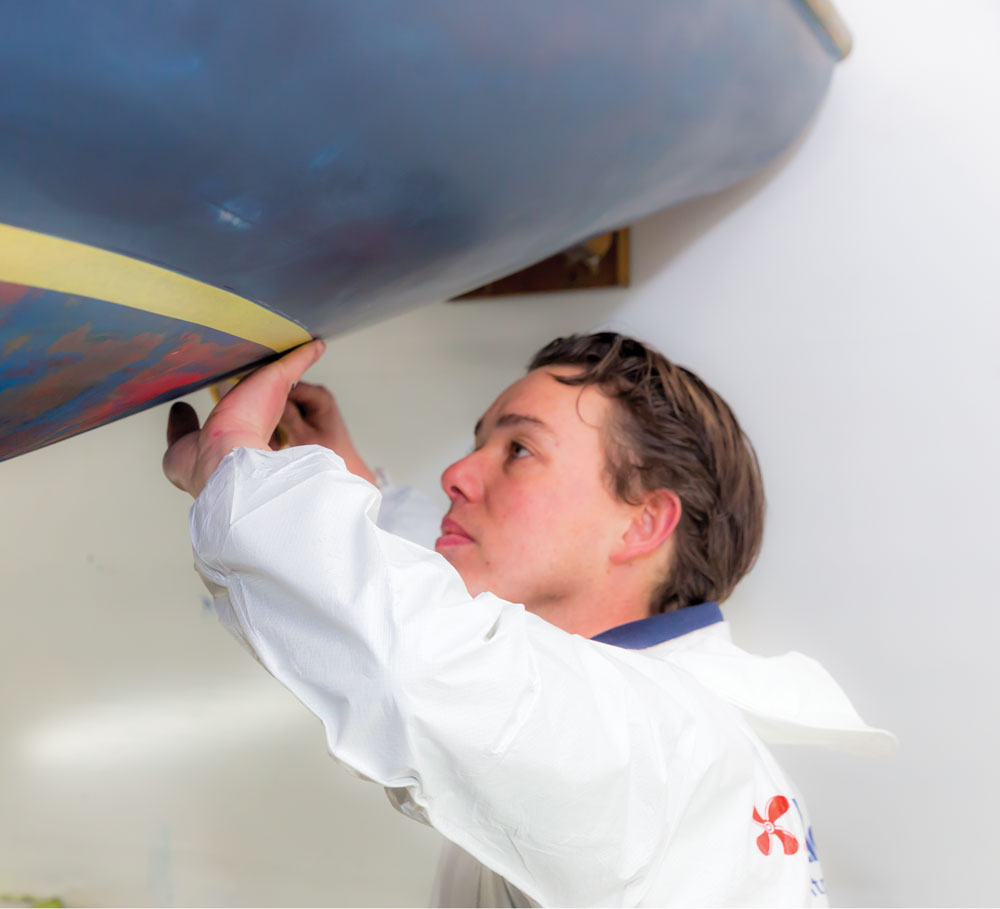
Removing the bottom paint starts with safety. Bottom paint is hazardous to you and the environment so you should wear full personal protective gear including a real respirator, Tyvek suit and nitrile gloves. Paint that is removed needs to be contained and disposed of properly, so coordinate with your boatyard to meet all local regulations for paint and dust capture.
I like to start by scraping with a carbide scraper. You can remove a lot of paint quickly without making a ton of fine dust. Be careful with the scraper: it’s an effective tool, but it’s also easy to gouge the fiberglass. Once you’ve removed as much paint as possible with a scraper, switch to a random orbital sander with 80-grit sandpaper. Control dust by connecting a shop vacuum to the sander.
With the paint removed, go over the bottom carefully with a light and look for cracks or pits. If there are minor imperfections, you can easily fix them with a fairing compound such as Interlux Watertite Epoxy Filler. The thick filler can be easily sanded with 80-grit sandpaper once it is dry.
If you’re changing the level of the bottom paint, you’ll need to establish a new top line at this point. Measure carefully, keeping the new top line parallel to the old one. Mark the line with a pencil and then connect the pencil marks with a strip of masking tape. With the new level marked, sand the new area with 80-grit paper to prepare it for paint. If you scuff up the tape in the process, lay down a new strip of tape to ensure a clean paint line.
Like any paint job, priming is an important step. InterProtect 2000E is an epoxy barrier coat that also serves as a primer. Before applying the primer, clean the entire surface that is to be painted with a solvent such as Interlux Fiberglass Solvent Wash to remove any surface contaminants and then roll on a coat of primer according to the label instructions. If the coat of primer exposes more defects, you can go back with epoxy filler to catch those and then apply primer over the top after the repair has dried and been sanded.
Then it’s finally time for paint. The application method depends on the type of paint, but many owners choose an ablative paint that will wear off, gradually exposing fresh biocide to prevent growth. Future coats of paint can be applied on top, rather than having to worry about heavy paint buildup.
It’s important to follow the application instructions for the specific paint and primer combination you’re using. Interprotect 2000E primer allows the first coat of most antifouling paints to be applied when it is “thumbprint tacky.” This is a cure state where the primer is soft enough to form a thumbprint when you touch it but not so tacky that paint transfers to your thumb. Overcoating at this stage allows the paint to adhere with both a mechanical and chemical bond. If you miss this window, you need to sand the cured InterProtect and then apply paint.
For a fresh bottom, two coats of an ablative paint such as Interlux Micron Extra will suffice. Micron Extra SPC, a new formula that will take the place of Micron Extra, works in all water—fresh, salt and brackish and also protects using a unique self-polishing co-polymer technology.
Apply the first coat with the primer at the “thumbprint tacky” stage, let it dry, and then apply a second coat.
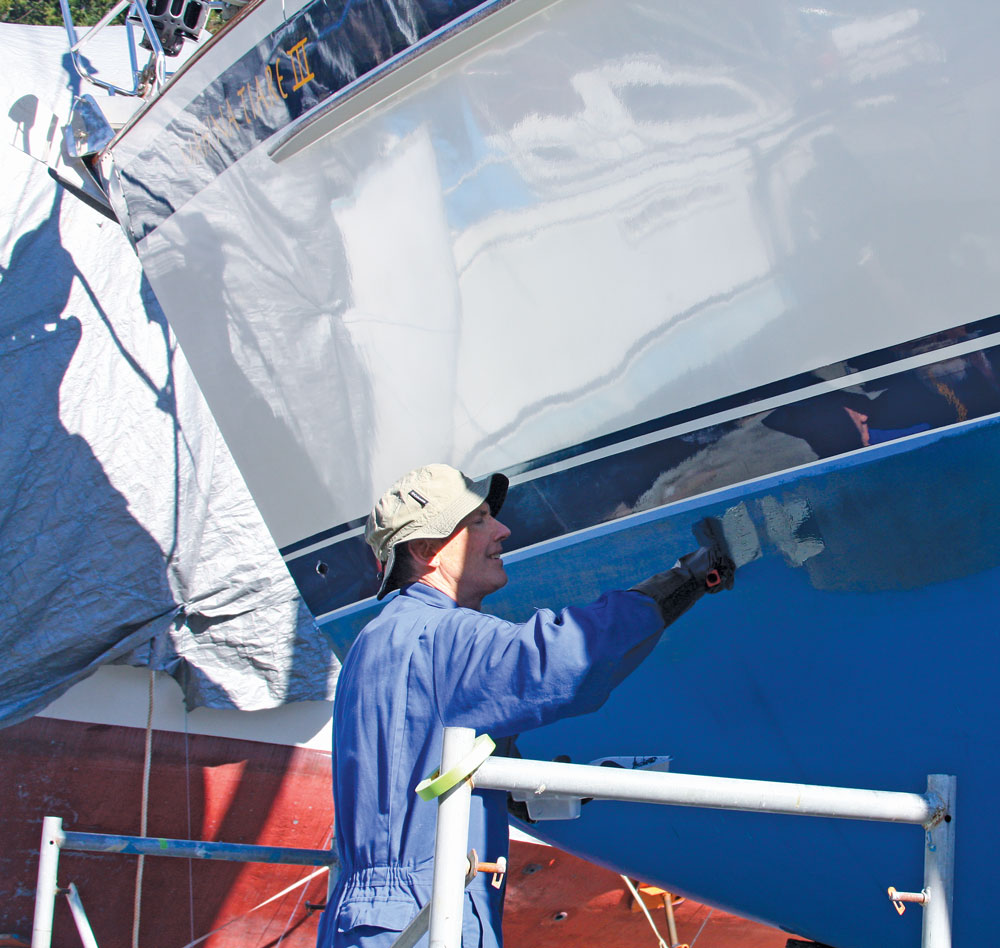
With the bottom done, you can move on to the boot stripe, using a topside paint that can be applied by a novice. Interlux Perfection is a two-part polyurethane paint that can be applied in a number of ways, including the time-tested roll and tip method.
As always, start by marking the area to be painted, again using masking tape, then sanding with 220-grit sandpaper and wiping off the dust to create a clean “canvas” for a new boot stripe. Apply a second layer of tape for that nice, crisp line, and start with an appropriate primer. After the primer has dried, sand with 220-grit and carefully remove all sanding dust.
Prepare paint according to the instructions. In the case of a two-part polyurethane, this will require mixing.
Comments