Home . Articles . News . Technique . Splicing Dyneema

Splicing Dyneema

2023 December 1

Embrace the splice because knots aren’t best on the extremely strong fiber Dyneema

Dyneema is seriously strong, but a very slippery fiber. The slipperiness means that you can’t efficiently use knots to terminate it. Even the best knot will degrade the ultimate strength of the rope by 60% or more. The knot will look OK but slip and fail under load. Dyneema must be spliced to maintain its strength.
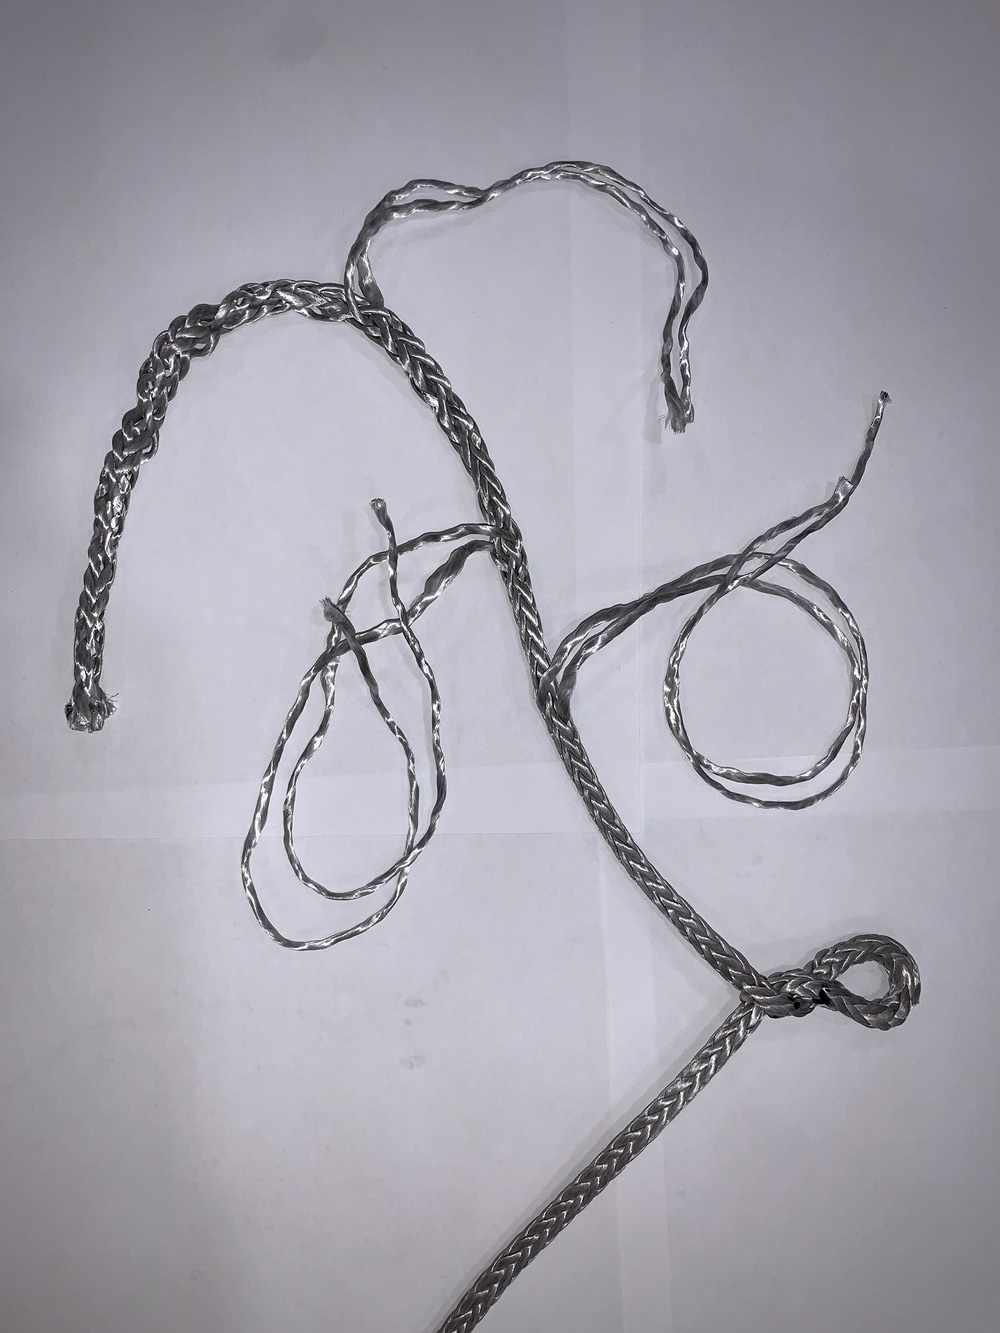

 
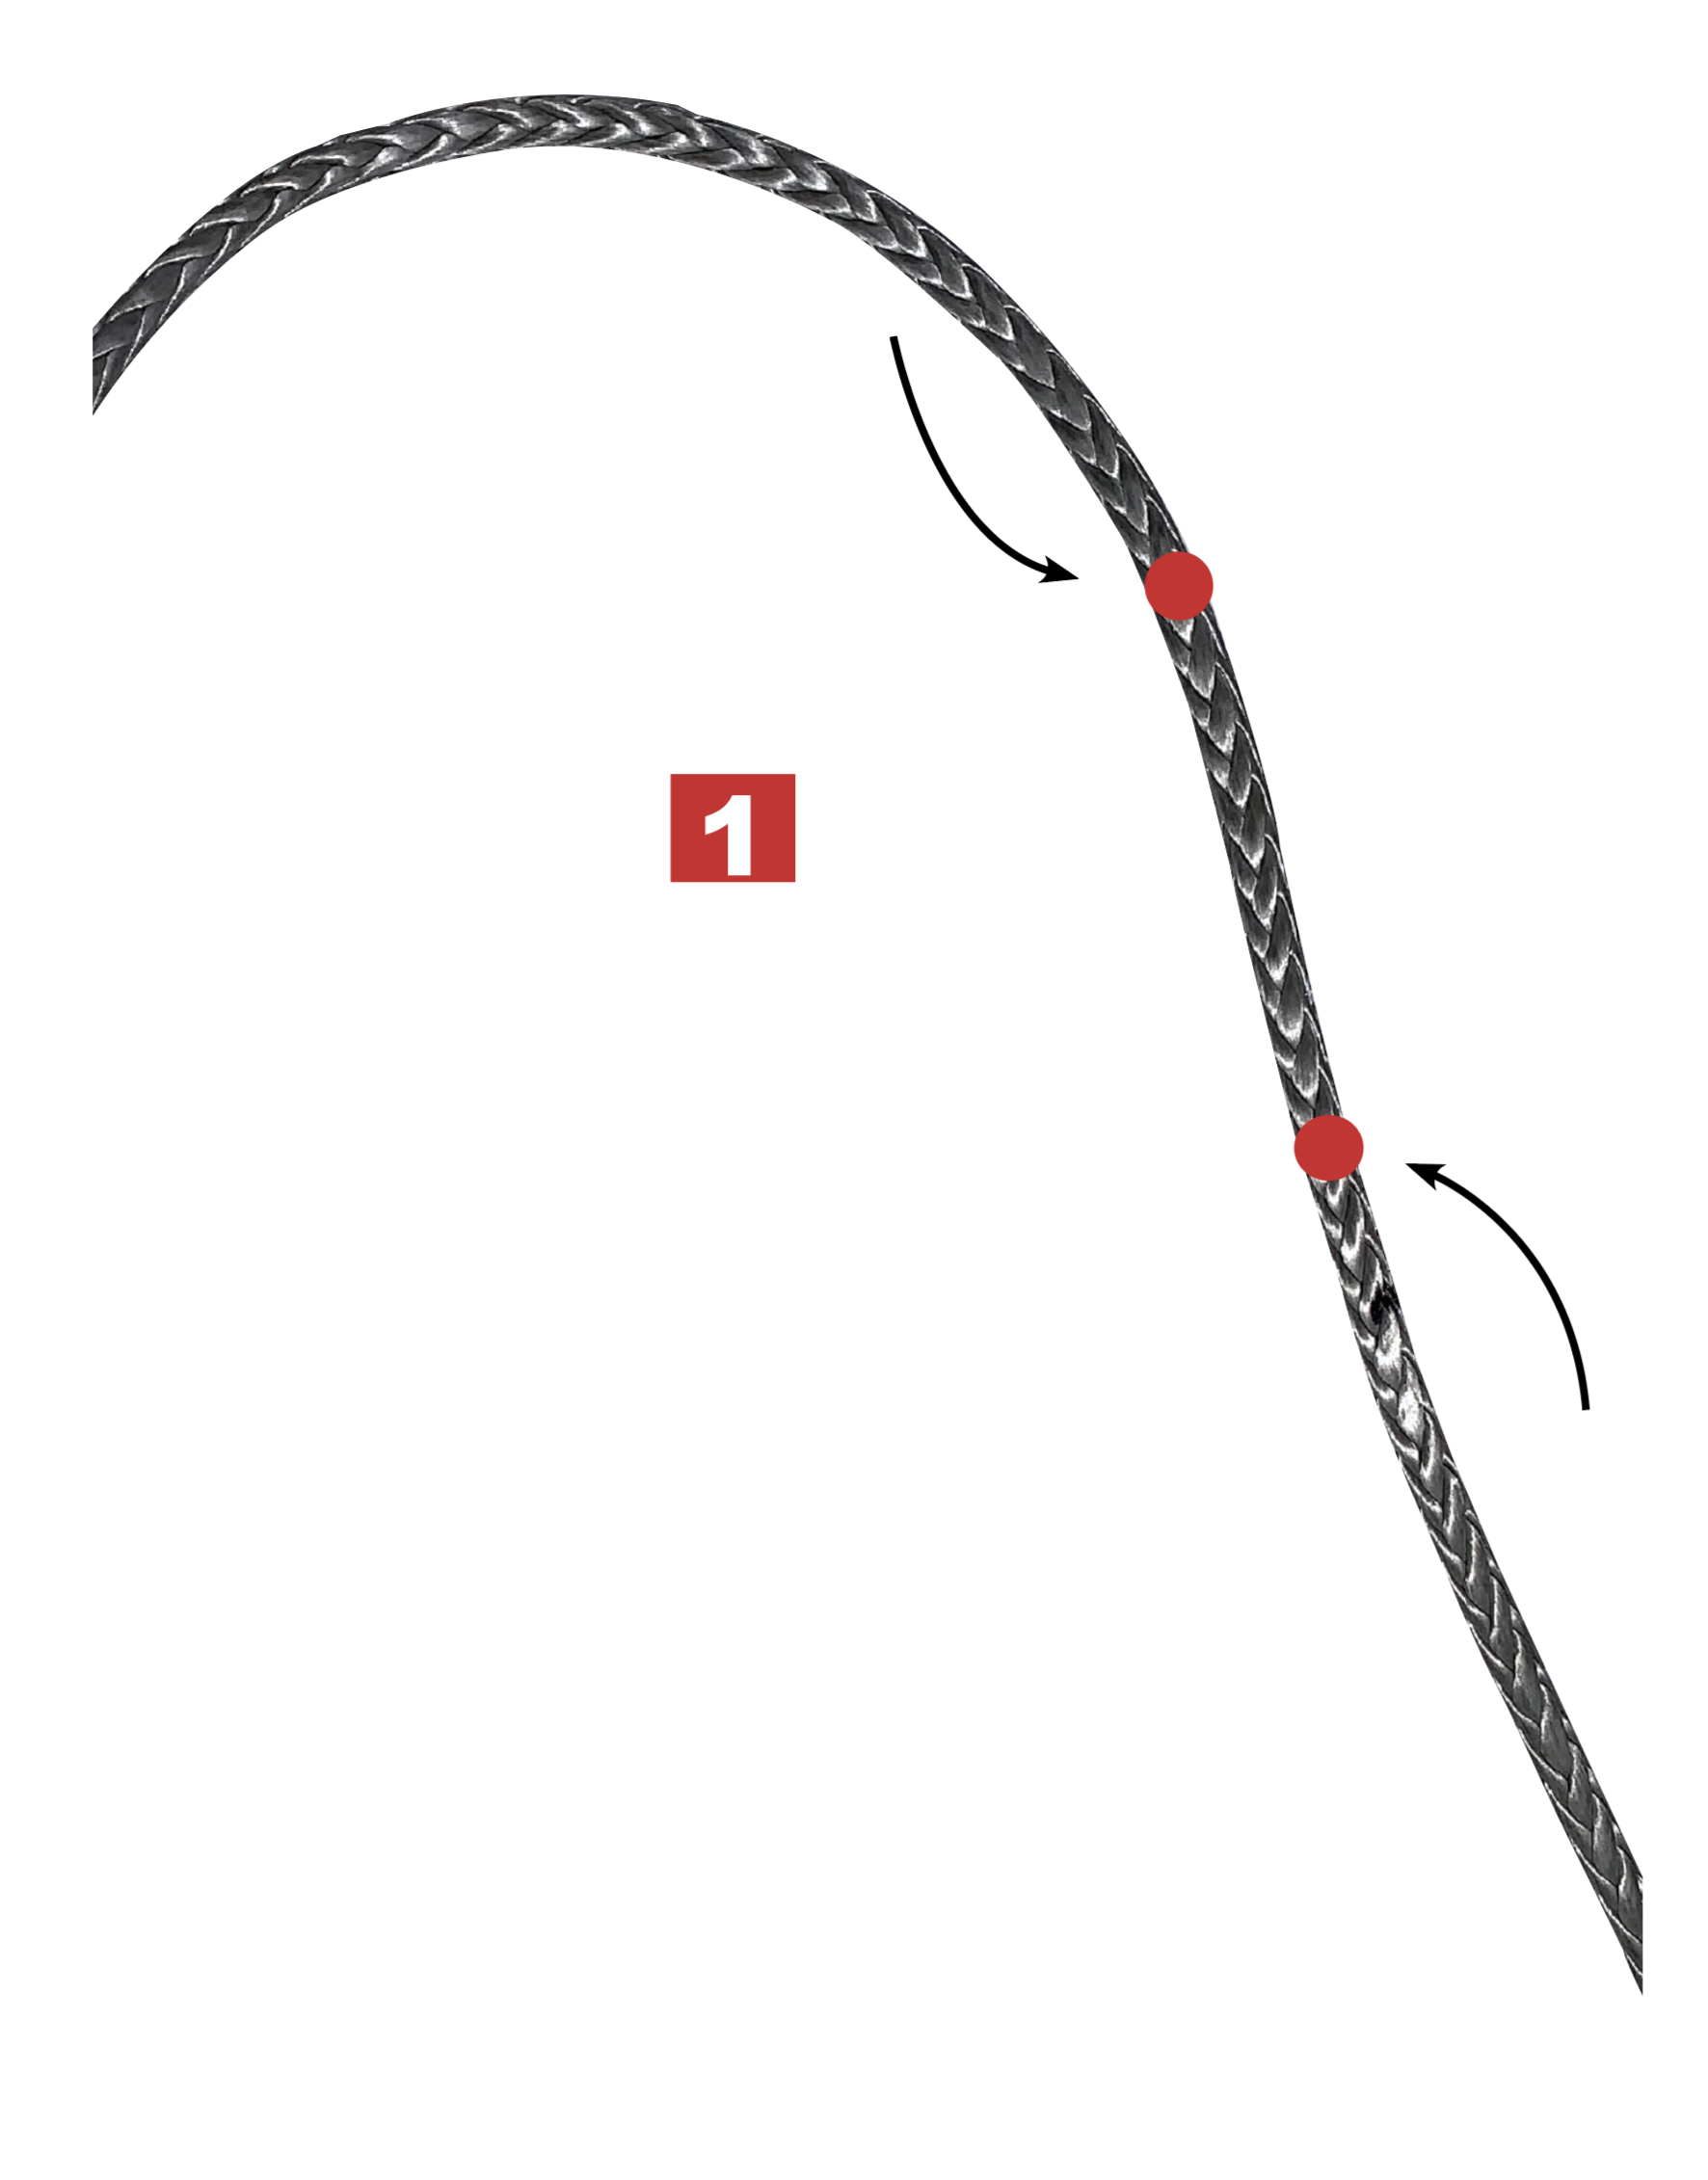
A single-braid rope is braided with 12 fiber strands, and the 12-strand braid forms a hollow tube. Looking closely at the braid you will see six strands rotate to the left and six to the right around the rope. To splice single-braid, you tuck the end of the rope down the center of the fiber tube. The splice works on the same principle as the Chinese handcuff trick, the tighter the rope is pulled, the more the tube compresses, holding tightly onto the tucked tail. This compression, combined with friction, makes for a near 100% efficient splice. Since the material is very slippery and even low percentage loads are quite high, a little locking arrangement before the bury helps hold a splice. This lock, called a Brummel, holds the splice together under low load until the larger loads come on to provide strength via compression on the bury.


Splicing is a great foundational skill. A simple eye splice will let you attach Dyneema to a piece of hardware, but with a bit more related skill, you can make a host of other cordage tools. Even the very fashionable and expensive soft shackles will be within reach. 


You will need a few tools to splice: a marker, tape measure, scissors, a tucking tool and a small awl. The tucking tool can be a traditional tubular fid in a diameter to match the rope, but I prefer the splicing wand created by Brion Toss Yacht Riggers (www.briontoss.com). Dyneema requires a 72-diameter tail bury—burying the tail a length equal to 72 times the diameter of the line—for adequate strength. To make the instructions general purpose and easy to remember the dimensions are all relative to rope diameter. For instance, if we do a 72-diameter bury in 1/4-inch rope, this is 72 multiplied by a .25 inches, or 18 inches. Refer to the table for common rope diameters, but any bury length can be calculated as needed.
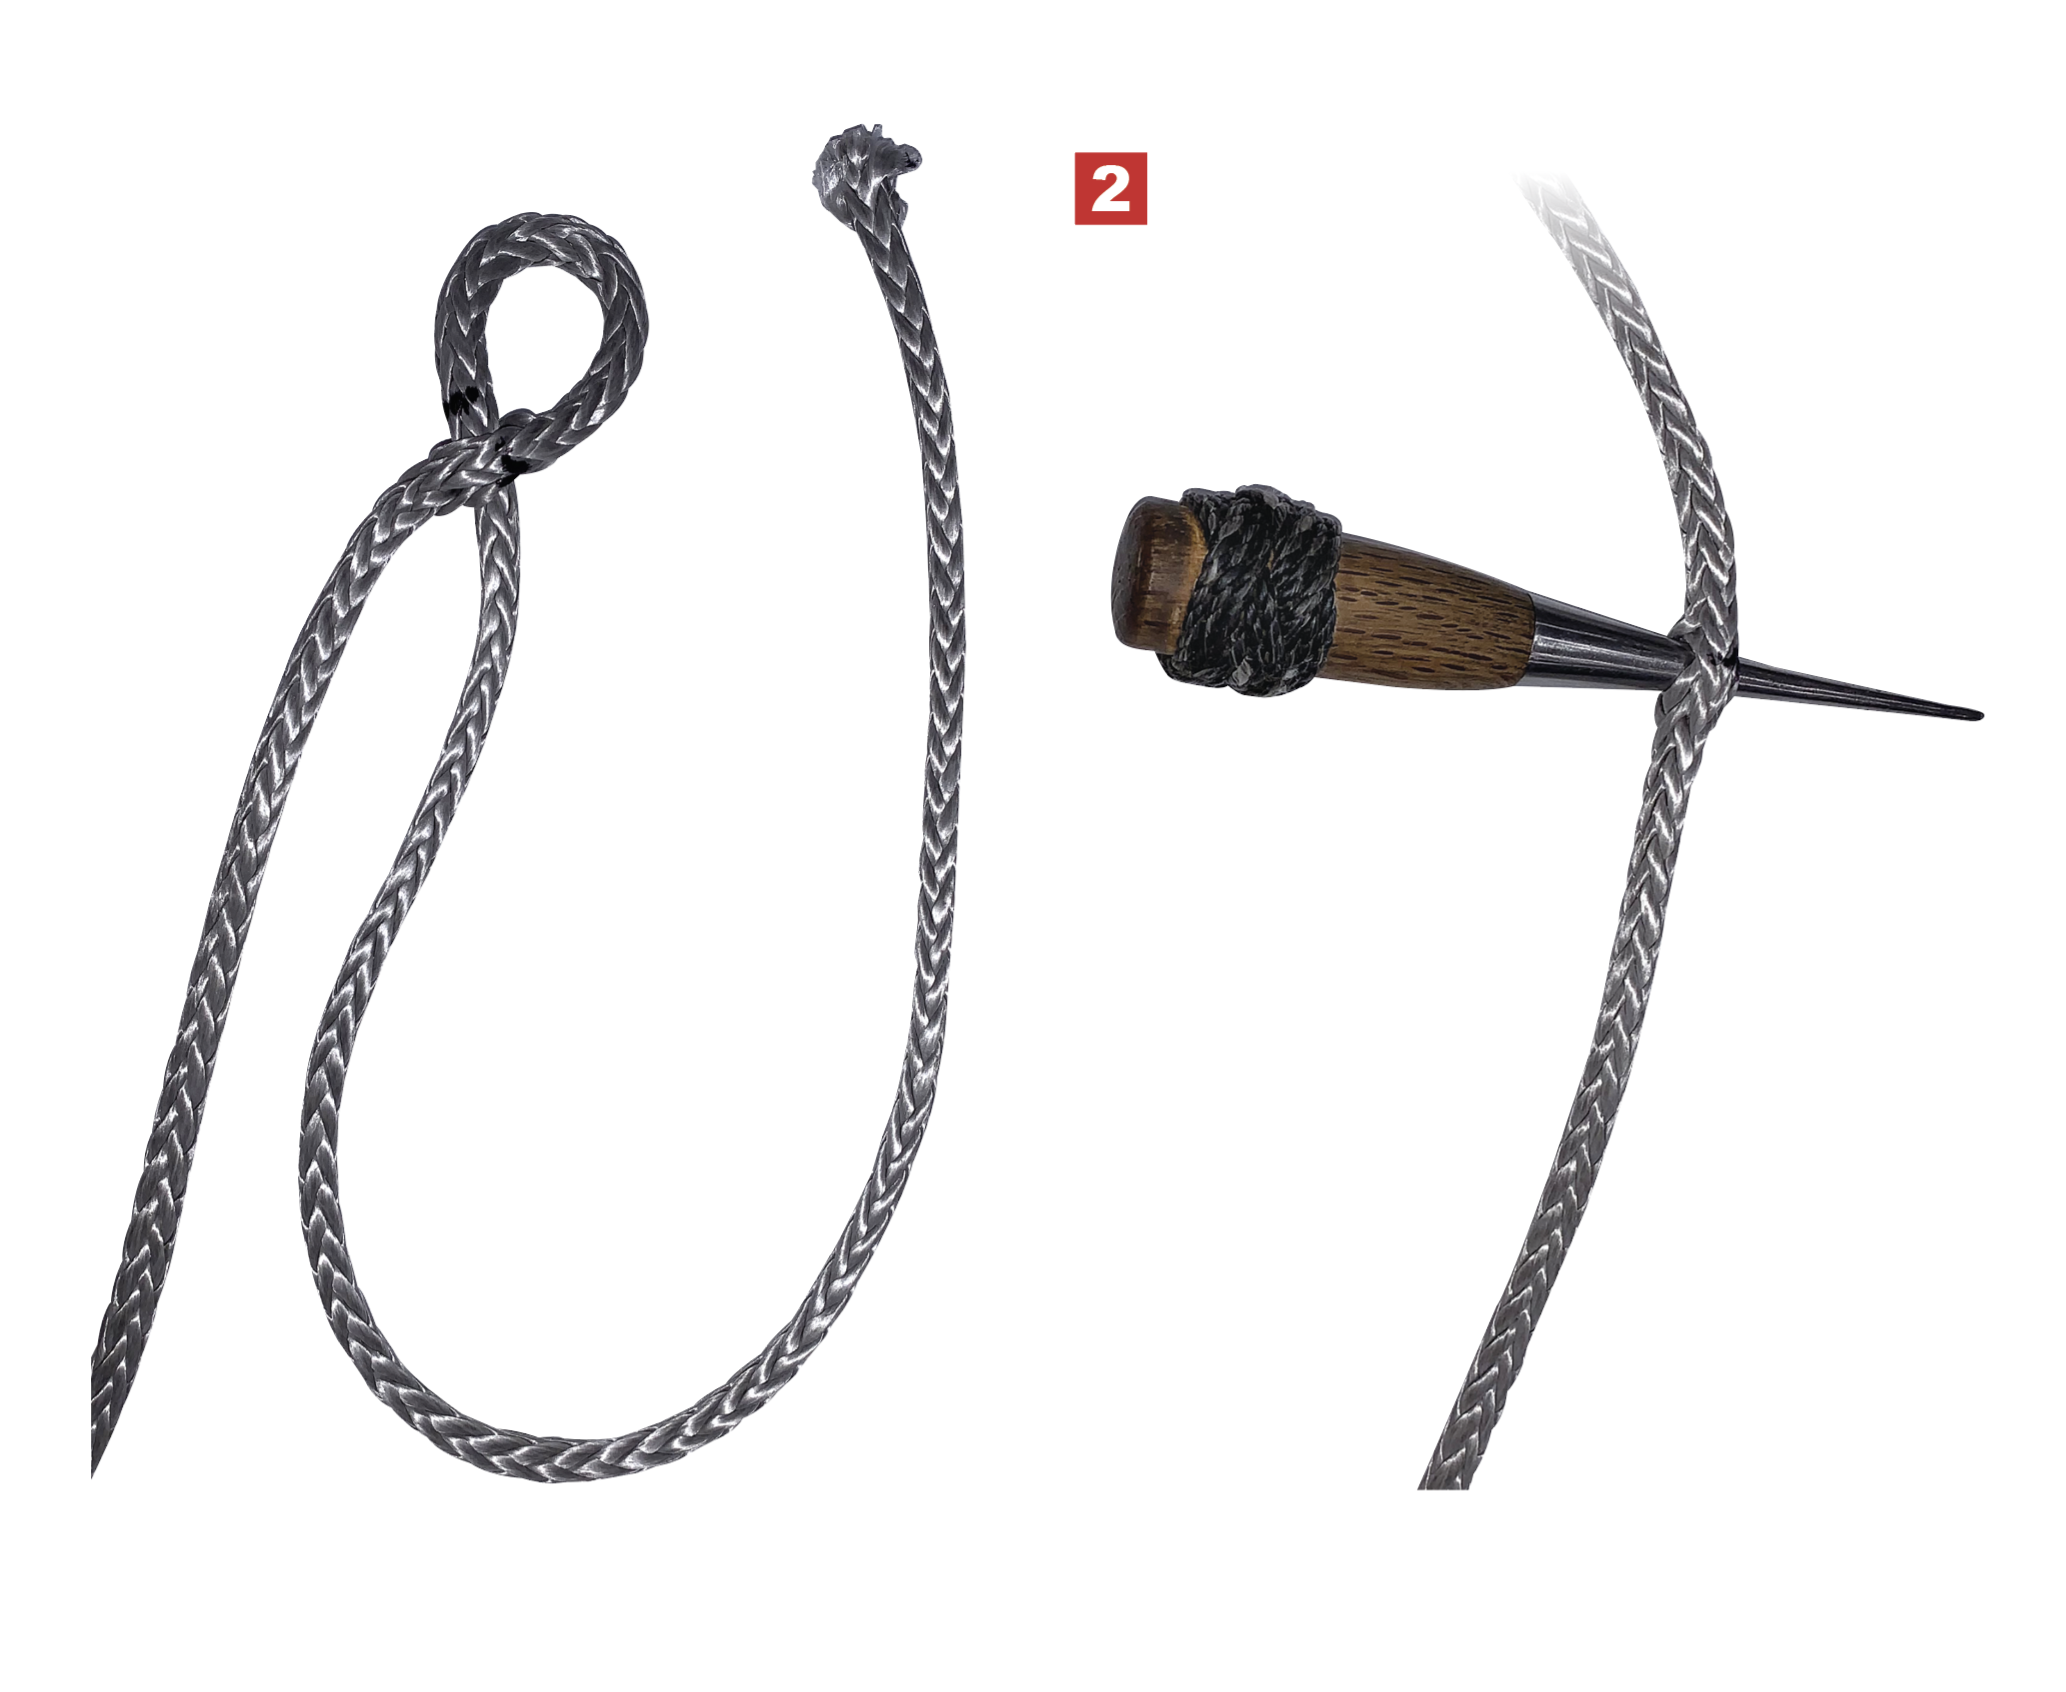
1. Mark the tail. Start by marking the 72-diameter tail. In this example, we are working with 1/4-inch rope, so this will be an 18-inch tail. Next, mark the size of the eye. In this case we’re doing a 2-inch eye, so make another mark 4 inches down


2. Form the eye. The next step is to put the tail through the rope at the second mark to form the eye. Using the awl, separate the strands at the second mark equally, effectively making a hole through the rope. The tail is passed through the hole creating


Continue reading: Page 1 | Page 2 | Page 3 | Page 4 | Next