
Winch servicing
Some of the most important equipment on a boat, winches can last for ages with annual maintenance
Before you begin, protect the area around the deck and put down a towel or piece of cardboard so you have a place to set greasy winch parts as you take them off. I like to have a large bucket available and put all the parts into the bucket to take off the boat for cleaning as it keeps the mess off the deck.
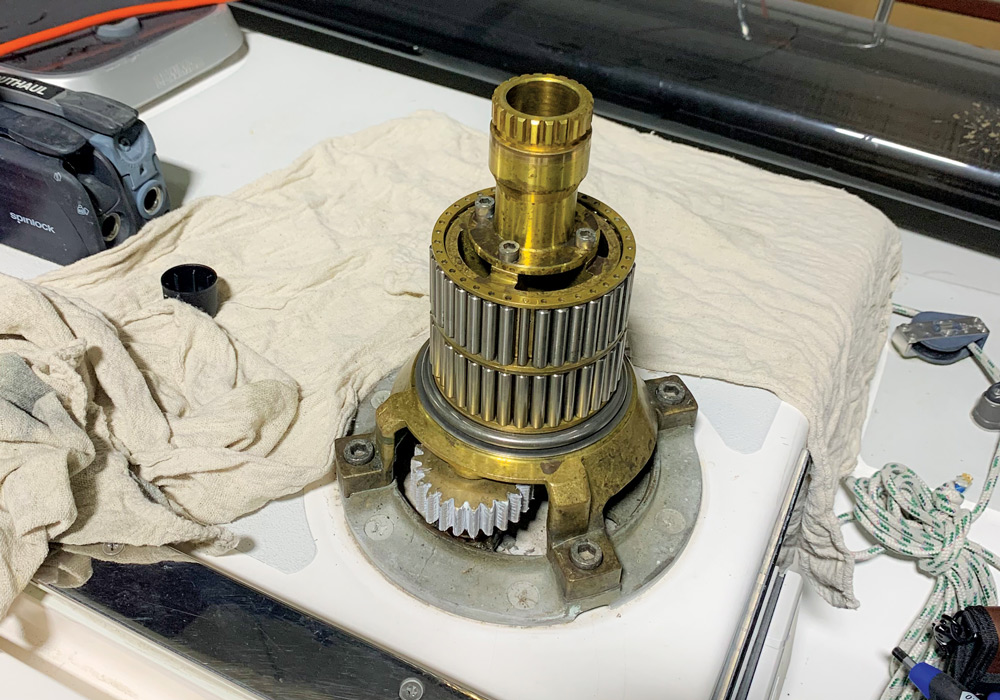
As you clean, inspect each part for wear. The gears should not have any broken or damaged teeth. Any broken springs and pawls should be replaced. When inspecting the pawls, look for any cracks that could lead to failure. They are relatively inexpensive parts so if you think one looks questionable, just replace it while you have the winch disassembled.
After all the parts are cleaned and inspected it’s time for re-assembly. This is where the exploded view diagram or photos you took will come into play. The good news is that winches only go back together one way, so as long as you get all the parts back in, you probably can’t get it wrong. All of the parts other than the pawls and bearings should be reassembled dry, as they will be greased later in the process. Pawls and bearings should receive a light coat of oil—not grease—as they are installed.
To keep the springs from flying off the pawls, put them on the pawls and hold the assembly compressed as you slide the pawl in place. Install the gear over the pawls by rotating the gear while sliding the gear down over the pawl assembly. Again, apply a light coat of oil to the pawl assembly and internal part of the gear. Spin the gear to make sure everything is working correctly.
Once everything is assembled, but before you put the drum on, apply a light coat of grease to all the gears. It’s important that they are thoroughly coated, but thinly so you don’t gum up your newly cleaned winches, collecting dirt, salt and pockets of water, which can lead to corrosion. Spin all the parts to make sure everything is spinning freely.
With the grease applied, put the drum back on and secure it. Spin the drum with your hand as well as with a winch handle, testing every gear. From there, all that’s left is to go sailing and enjoy your smooth-running winches.
Comments