Steering inspection
Steering problems are serious but many can be avoided with routine maintenance
Steering problems are almost always serious and can quickly rise to the level of an emergency. But most problems can be avoided with regular inspections and maintenance.
Steering systems are extremely varied so there’s no one-size-fits-all approach to maintenance, but there are some basic tenets that hold true for most setups.
If the boat is out of the water, a good place to start is at the rudder. Give it a good shake. There should be little to no wobble in it. Also turn it from side to side and make sure that it turns freely from lock to lock, not scraping the hull at any point.
It’s also a good time to check your center mark on your steering wheel. Have someone stand behind the boat to make sure the rudder is perfectly centered and adjust the center point on the steering wheel as necessary.

The rest of your steering inspection can be done with the boat in the water. A good flashlight will be your friend, and you should be prepared for a bit of body contortion as there’s often not a lot of room to work.
Start at the top, by removing the steering wheel, which will not only give you more room to work but also allow to inspect the wheel, key and brake knob. Look for excessive play and visibly worn parts. Check the wheel brake and inspect the pads, replacing them if they are worn. While you’re looking at it give it a good clean, as grease can make it less effective.
You’ll likely need to access the interior of the pedestal or binnacle for a thorough inspection, and this may require removing the compass and disconnecting the compass light wire.
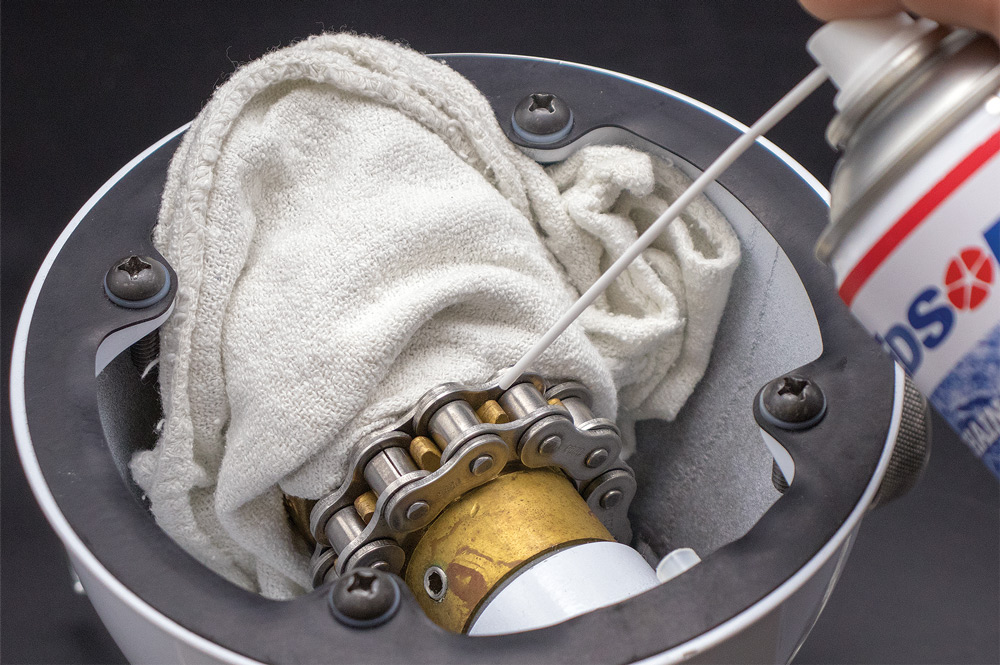
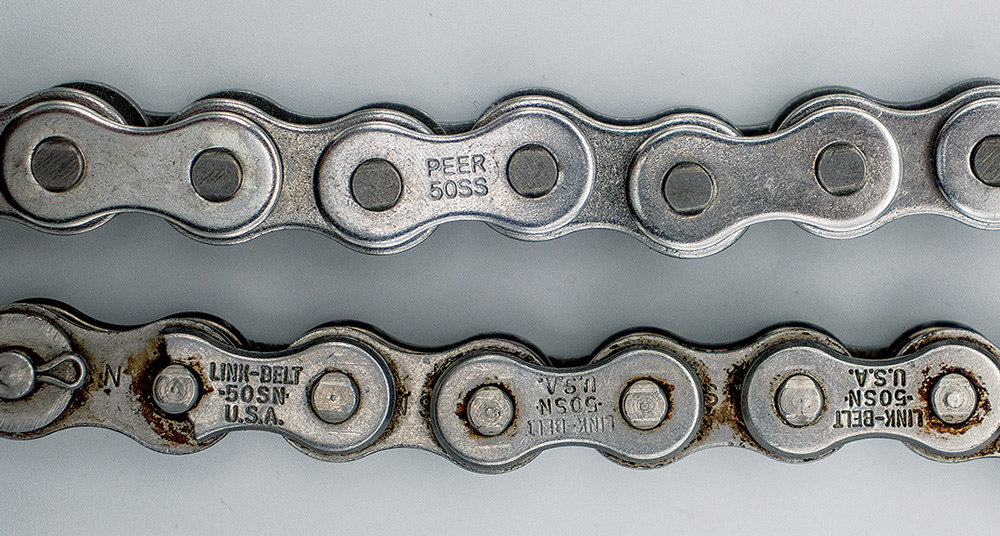
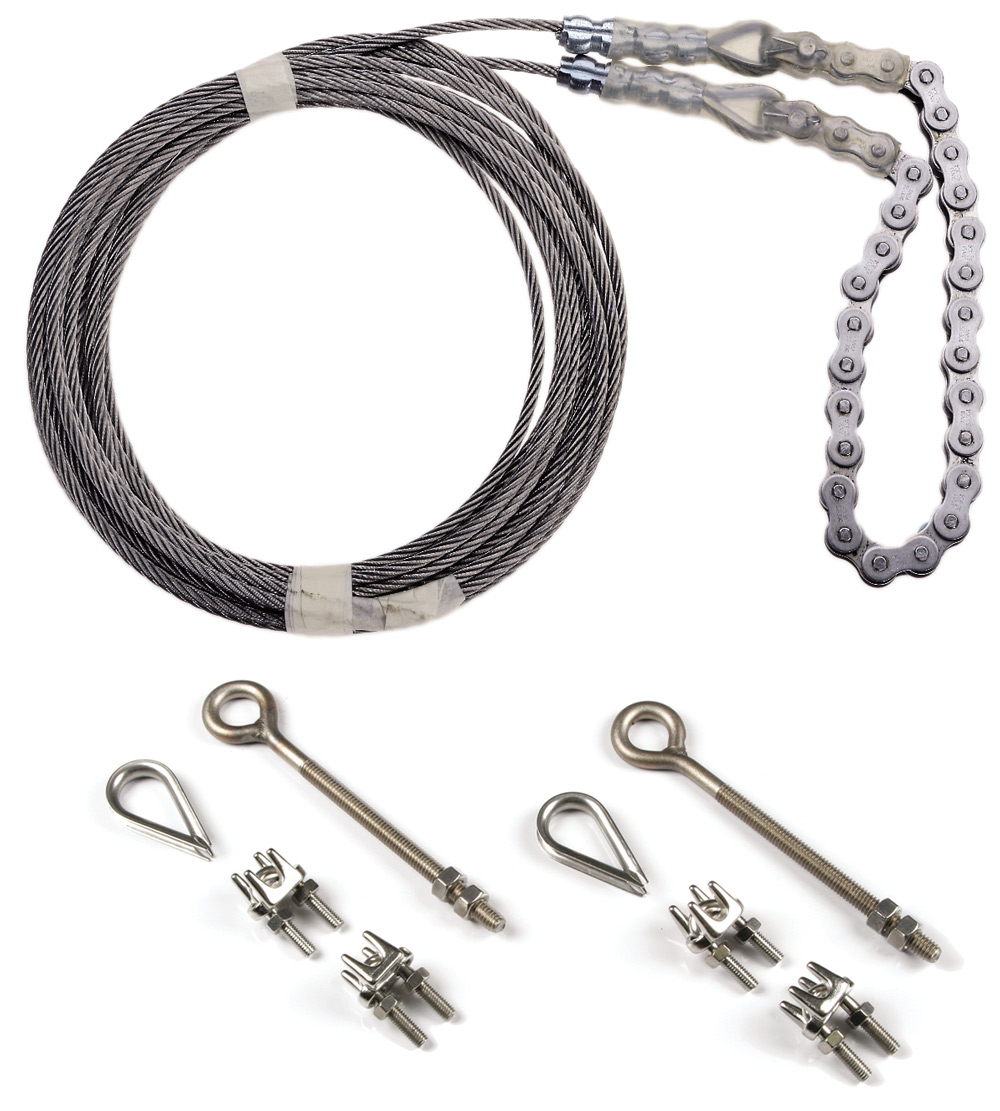
The next, and arguably most important part of a steering inspection is a thorough look at the chain-and-cable assembly or high-tech line, depending on the system. This will require accessing the quadrant below deck. First, look for signs of wear. On a high-modulus system, look for fraying or pulls. Any sign of damage is reason for replacement. On a chain-and-cable system, check the chain to make sure it is lubricated and moves freely. Look for corrosion and any sign that it doesn’t roll easily. Steering specialists Edson Marine suggests that chain and wire should be replaced if it is more than 10 years old.
A thorough inspection of the steering cables is the next step. Look for broken strands and kinks along the length of the wire. If you find either, replace the wire.
Next, check the tension in the system carefully. Cable or high-modulus line should be snug on sheaves or the quadrant. Turn the wheel hard over in both directions, making certain that the lazy cable is still snug, but not excessively tight, which can lead to stiff steering and premature wear. Conduit that is in place in tight bends should also be inspected and lubricated with Teflon grease.

By now you’re getting the idea that corrosion and wear is the enemy, so continue the search at the cable sheaves. Misaligned cables will create wear here and possibly create metal dust. If there is wear, replace the sheaves, and realign everything to ensure that cables run directly through the center of the sheaves and quadrant.
While you’re there, check the quadrant to make sure it is tightly connected to the rudder post. Bumpers on the rudder stop should be pliable and may need replacing if they are missing, out of place or broken. Check the alignment in the system again.
Before you extract yourself from the compartment, double check all fasteners and connections to make sure they are in good shape and tightened properly. Lubricate both the chain and cables with 30W motor oil or a specific chain oil, which will decrease mess and will repel water. Apply Teflon grease to shaft roller bearings.
If you find problems in the system, make notes of parts numbers where available and take photos of the assembly and issues. Replacement parts are often sold in kits, but it’s important to get the right parts. Look to the steering system manufacturer for parts first.
Add a leather cover to the wheel
If you’re looking for an upgrade that is more visible, consider adding a leather wheel rim cover. Plan on removing the wheel for this project. Leather wheel cover kits are an easy way to get everything you need for the project and, more importantly, holes will be pre-punched in the leather, making even stitches much easier. Some kits include padding for a nicer grip on the wheel. The foam padding will usually have an adhesive backing to help it stay in place, but double stick tape will work as well.
Measure the circumference of the wheel and add a 3/8th seam allowance. Cut the leather to length carefully, making sure to make a straight cut. Fold the leather in half, with the inside faces exposed. Using wax twine and a sailmaker’s needle and palm, use a running stitch 3/16th inch from the ends, making sure to firmly secure both the first and last stitches.
Use a few pieces of double-sided tape to secure the leather on the wheel. Turn the leather right side out and place it around the wheel, lining it up so the seam will run evenly down the inside of the wheel.

Stitch between spokes, doing one section at a time. Use enough twine for one section at a time and tie a firm knot in the end. Double up the first stitch, then proceed to stitch the rest of the section, taking the needle from the inside to the outside of each hole, alternately top hole to bottom hole. Straighten and tighten the stitches as you work.
At the end of the section, make a double stitch, then bring the needle back through the middle, running it under the cover for about an inch, and pulling it out the seam where it can be trimmed after firmly tightening the rest of the stitches at the end of the section.
The process isn’t complicated, but it can take some time and good lighting to do a proper job and end up with a wheel that’s a pleasure to use and good looking too.

Comments