From dusty project to race ready
A young couple restores a Victory 21 built nearly 40 years before they were born
My heart pounded as adrenaline flooded my veins, the wind biting my cheeks as we threaded through the oncoming vessels that were fighting for our prime position. It was the 69th annual High Sierra Regatta, and the

sixth anniversary of my partner Chris and I crewing together aboard our Victory 21 sailboat. The regatta on Huntington Lake in California’s Sierra Nevada is always memorable, not for the sailboat racing, but for the race to the starting line, which has become a tradition for us to just barely make. So it was true to form that we found ourselves towing the Victory for four hours to the Ventura Harbor Boat Yard where we’d reserved a spot to work on the boat, just two weeks before the start of the regatta.
The Victory 21 was designed by Ted Carpenter and became one of the first production boats built by Frank Butler, who would go on to found Catalina Yachts. By 1962, Butler had built 126 of the little sloops. Our Victory 21, hull No. 553, came into the family when Chris and his father picked it up in 2008 as a project boat. It was a great platform for young Chris to cut his refit teeth on projects like fiberglassing.
That experience would come in handy not just for working on our own boat, but also for redoing the original projects Chris had taken on with his father. The under built foredeck and fraught chainplate mounting were due for a refit, 20 years after they’d last been worked on.
The original chainplates fix consisted of a long piece of angle iron mounted under the port and starboard deck to act as a backing plate for the three “chainplates” to affix to. Although this design served its purpose, the serious pitfall of this design was that the load from the rig went directly into the deck rather than the hull, resulting in breaking most of the tabbing away from the deck-to-hull joint, adding to the insufficient strength of not only the rig but the boat itself.
To fix this, Chris fiberglassed large, overbuilt foam core knees to the hull and deck to allow for a much more robust chainplate attachment point. After the knees had been glassed in, the attention was turned to the foredeck, which had previously been supported with a pair of T-shaped supports created from 2-by-4s. To improve on that very outdated fix, Chris decided to add in beam-to-beam stringers along the belly of the deck to disperse the load of the entire deck. With a template made we cut out strips of Divinycell PVC foam core and sandwiched layers of 1708 fiberglass biaxial mat and thickened epoxy until the four prominent, yet minimal, stringers were glassed in place.

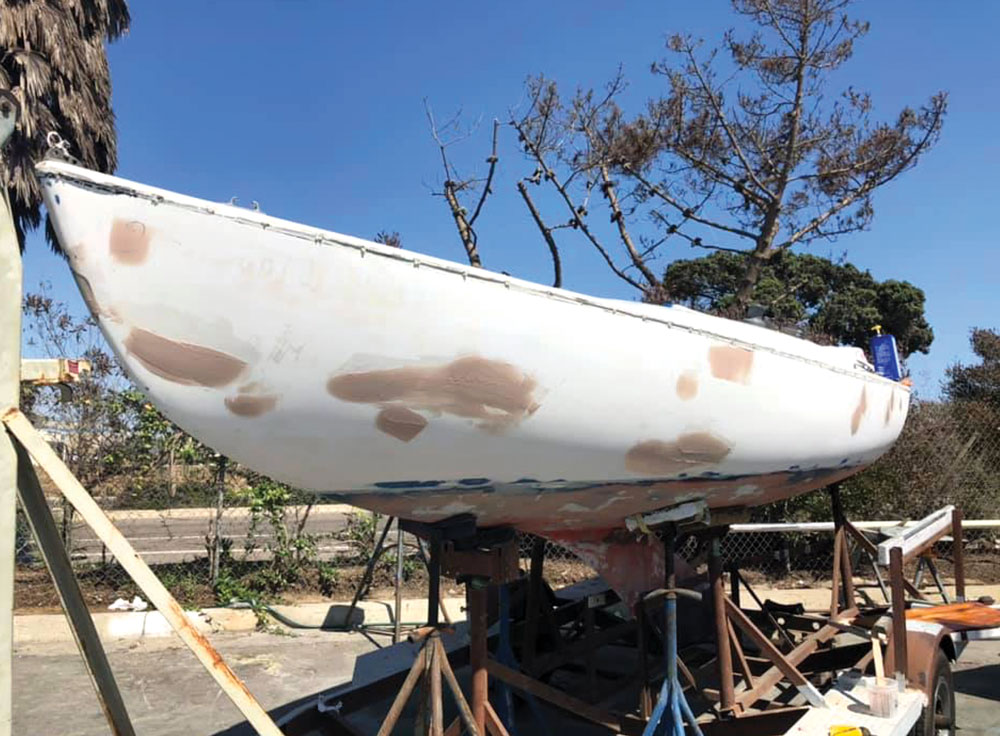
With the fiberglass work complete we had also started checking fairing and sanding the hull and rudder off the list, and we went on to removing the metal track that the bump-rail sat inside, well, what was left of it anyway. The original screws were mild steel, which caused them to decay inside the hull-to-deck joint. Armed with a drill, I made holes around the sheared-off bolts then pulled out what was left of the metal using needlenose pliers, a procedure similar to a game of Operation. While I did this, Chris routed out the spider cracks and blisters then faired them using System Three Quikfair epoxy. At the end of the day we sat back and appreciated the clean canvas in front of us; our once royal blue boat was now stark white bearing all of her faults, looking naked and vulnerable. Chris wore most of her blue paint on his forearms and around his face where his respirator wouldn’t reach, looking like he lost a fight with a Smurf.
The next day the pink patches of fairing compound we spread the evening before were ready to be sanded along with the epoxied hull-to-deck joint, giving us a smooth surface for primer. It took two hours but by noon the sanders were retired and the boat was wiped down with an acetone dampened microfiber to remove any leftover debris. Together we mixed and filtered the two-part primer that looked like mud, filling a paint tray and rolling it on in even layers. When 2 p.m. rolled around the boat was an awful shade of blush, but all smooth and one color ready to receive her new topsides paint.
We chose to go with Awlgrip paints since we were impressed by the application, result and durability when we’d used it on our Cheoy Lee 41 Avocet. Considering the Victory is only in the water (usually fresh) a few times a year we decided this paint would be a good option and started to browse the catalog for her new color scheme, ultimately landing on red. Dale, the master painter in Ventura Harbor Boatyard and good friend of ours, pointed us in the direction of which shade of red to use, giving us the best result. With Dale’s help, we cracked open the can of paint and got to work rolling and tipping.

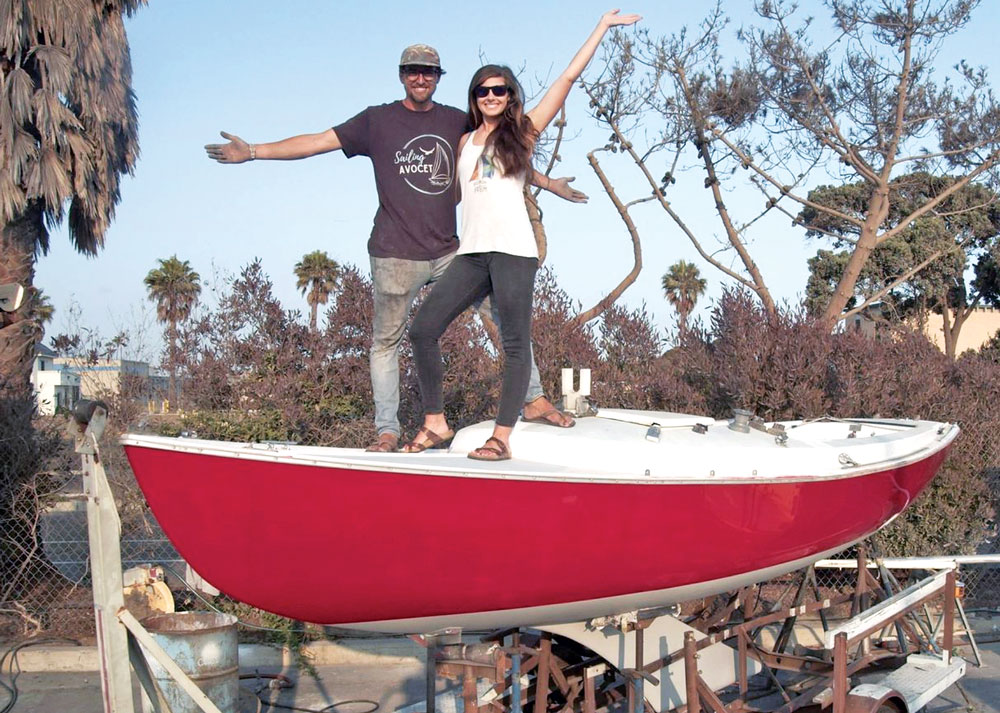
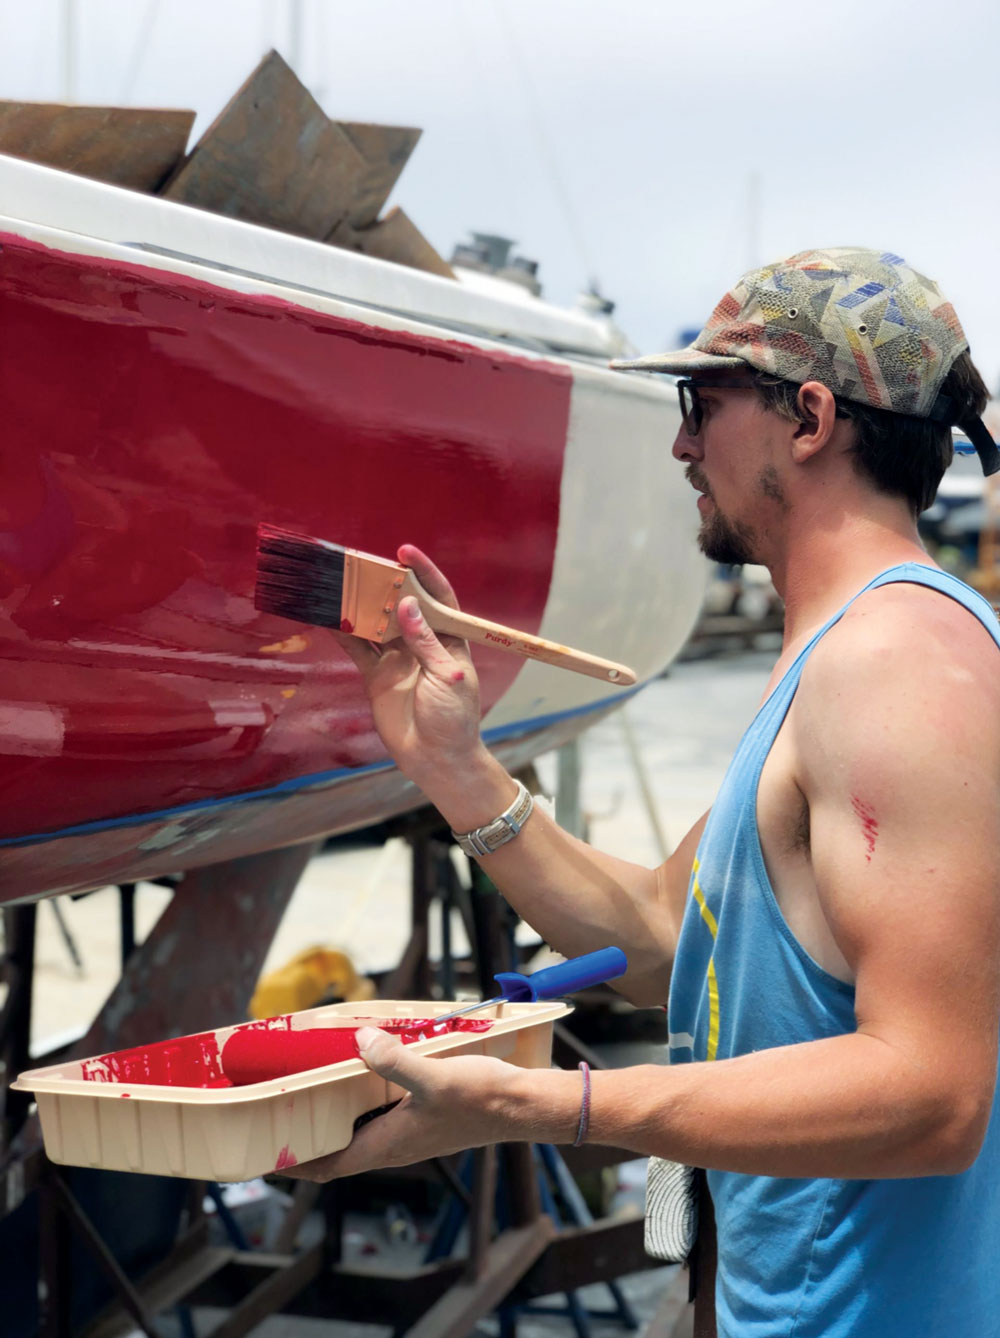
“More paint!” Chris said as he continued the red takeover. I carefully brought him the mixing container filled with the paint he had filtered, filled the tray then stepped away from the splash zone. With the camera in my hands I captured the last bit of white being covered by the rich red, Chris’s reflection bouncing off the hull as he continued to paint vigorously. He dropped his applicators and stood back, flecks of red splattered on his arms and cheeks from working so quickly with the roller, but his smile pushed the spots on his cheeks up like freckles as he admired his work. We both noted a few oddities on the port bow (where he started) but were positive after it was sanded and the second coat was applied that it would not be an issue. I was thrilled to witness this big moment, as we were seeing the light at the end of the tunnel and the start of a new beginning for our little boat. It was a bittersweet process to have sanded away the work Chris and his dad did all those years ago, but I’m sure he would be proud of us and the accomplishments we have made on both our boats. The second coat of paint had gone on smooth and rich, a crimson reflection bouncing back at us as we smiled ear to ear, and just like that, the boat was red.

Comments