How to mount deckware
Take the time to mount fittings properly or pay the price in the long term
Replacing deck hardware or mounting new deck hardware might seem like an easy project, but doing it incorrectly is a recipe for long-term problems that are not an easy fix. It’s worth taking the time to properly mount hardware from the get-go. And the key is to create a long-lasting seal between the fitting and the deck that will keep water out.
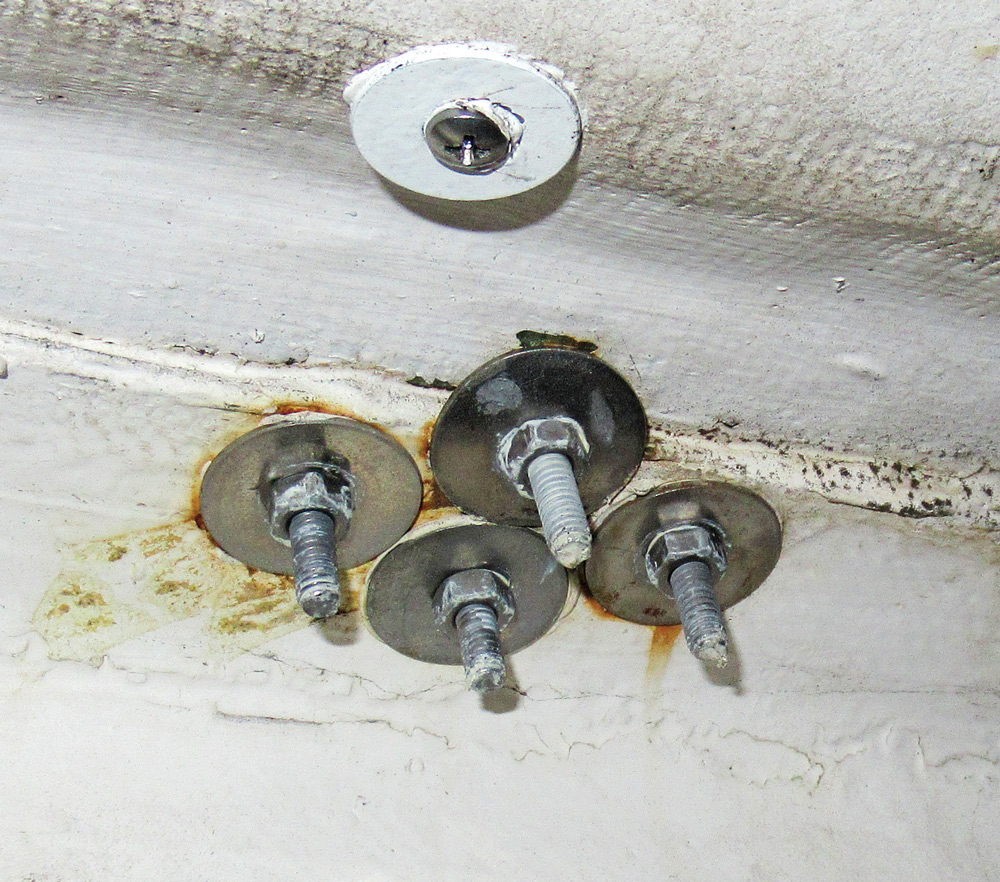
Regardless of whether you’re mounting new hardware or replacing old hardware, it’s important to clean the deck and hardware thoroughly before remounting. Any old sealant should be completely removed using the putty knife. Any residual sealant can be removed with an adhesive remover, but these can stain gelcoat or paint so should be used with caution. Taping off the area can help protect the deck.
Once the deck hardware is removed it’s time to investigate what’s been happening around the fitting. If the fitting was mounted improperly or the sealant has failed there’s a good chance there could be wet or rotten core in the area. You can use a screwdriver to poke around in the existing bolt holes to feel for soft spots and gently tap around the area on the deck to listen for changes in pitch indicating wet core. If any problems are found, you should address those before moving on.
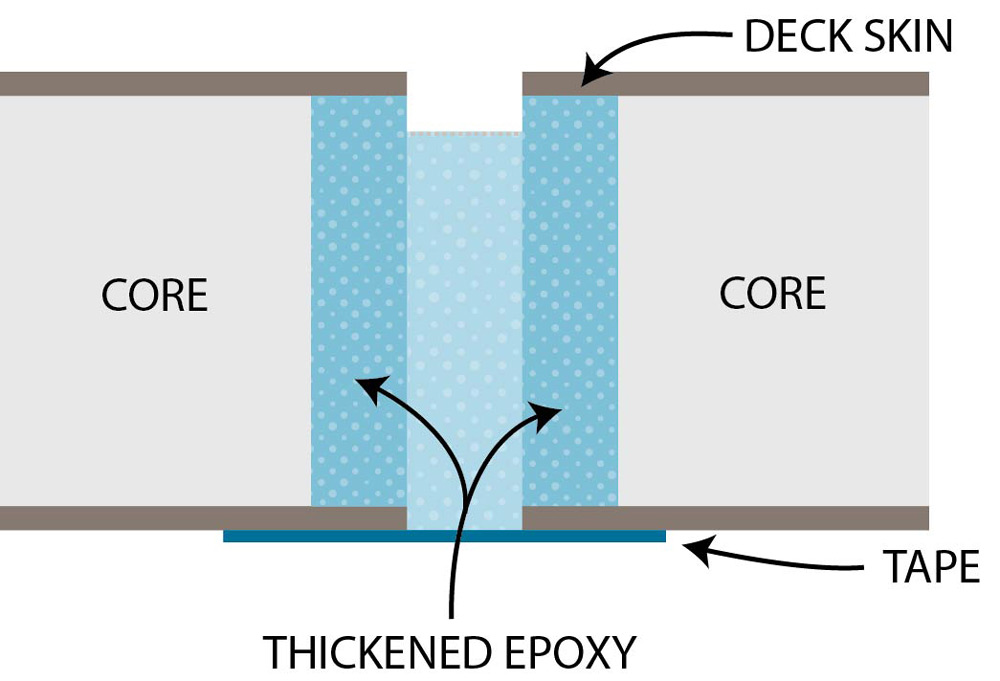
Assuming that the deck and core are still in good shape, it’s a good idea to seal the core with epoxy to prevent any future leaks from soaking into the core. Tape around the bolt holes to prevent any drips from causing a problem and put a piece of tape over the bottom of the hole from underneath the deck. Using a two-part epoxy, work it into the hole and paint it on the core with a small paintbrush or acid brush, coating the exposed core and allow the epoxy to cure.
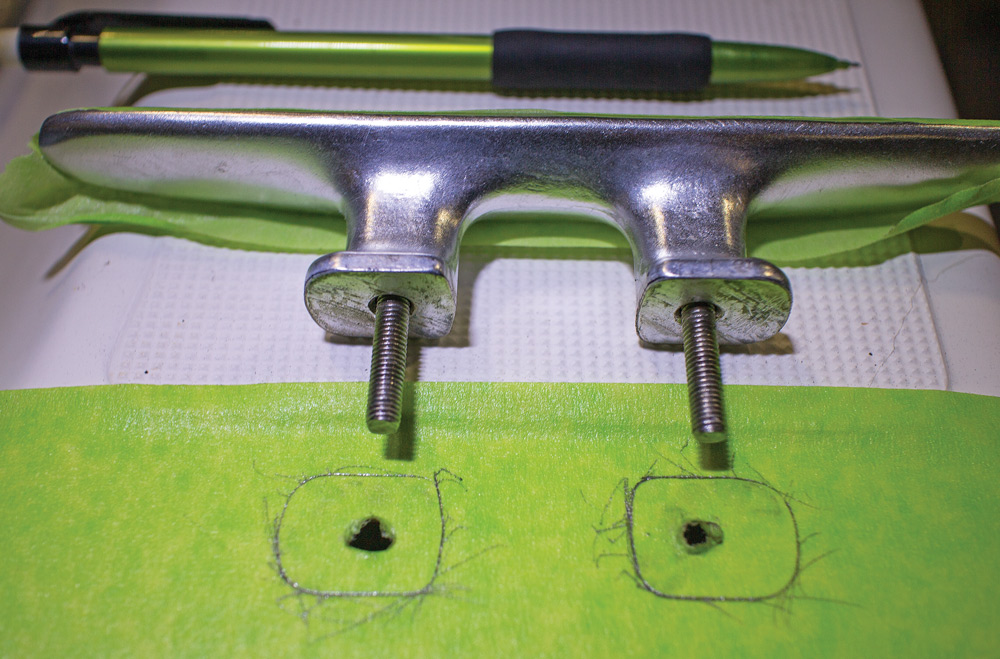
New hardware should come with a bolt hole template that is to scale. Place the template on the deck in the location you want and with a center punch, mark the hole centers on the deck. Once the hole locations are determined, drill a pilot hole all the way through the deck, being very careful to keep the drill perpendicular to the deck, which is not necessarily level.
The next step is to drill the hole to the size that will match the bolt. To prevent the paint or gelcoat from chipping, run the drill backwards until you have a countersunk hole the size of the drill bit tip. Then drill the hole, maintaining the perpendicular angle to the deck. Run the drill about three-quarters of the way through the deck and then drill from the other side, again running the drill backwards at first to prevent chipping.
Backing plates are important when mounting hardware and should not be overlooked. This can be as simple as fender washers, which will help disperse the load, or as significant as aluminum plates or Garolite—compressed fiberglass sheets—cut to fit. Some applications, such as jib tracks, require channels or square stock for proper backing. The backing plate best suited for each piece of deck hardware depends on its usage, loads and deck construction. If you have a fitting that is prone to leaking, chances are that a deck issue, such as a wet core, or the lack of a proper backing plate are to blame.
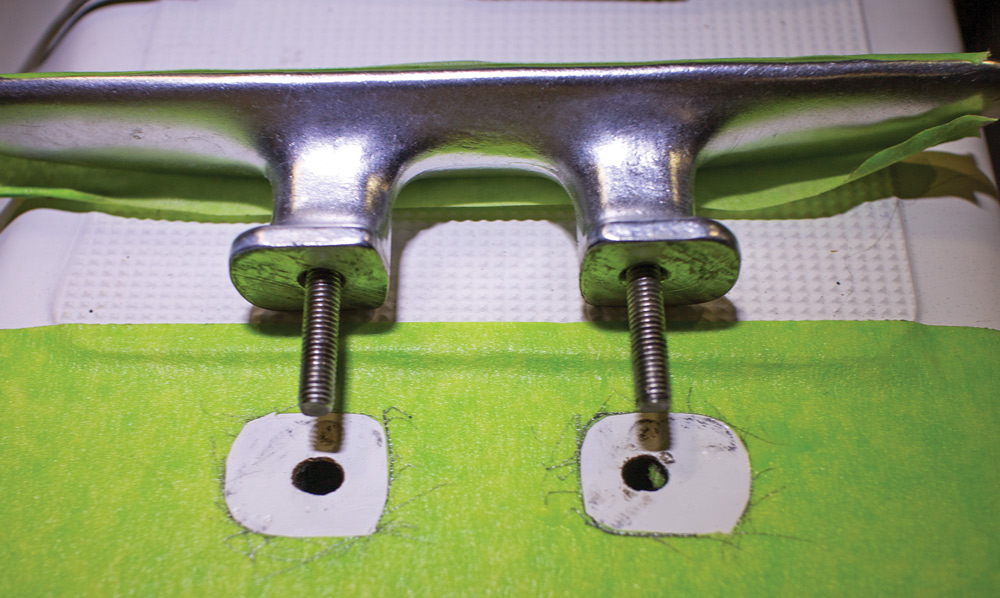
Once all the holes are drilled and the backing plate is fabricated, dry fit everything to ensure good alignment and make any necessary adjustments. To help in the cleanup of sealant after your final mounting, tape over the entire area, including where the piece of hardware will be mounted. When the piece of hardware is down during the dry fit process, cut around the piece with a sharp razor knife, being careful to only cut the tape and not the paint or gelcoat under the tape. When you remove the part, you can then remove the tape that was under the fixture leaving the rest of the tape in place.
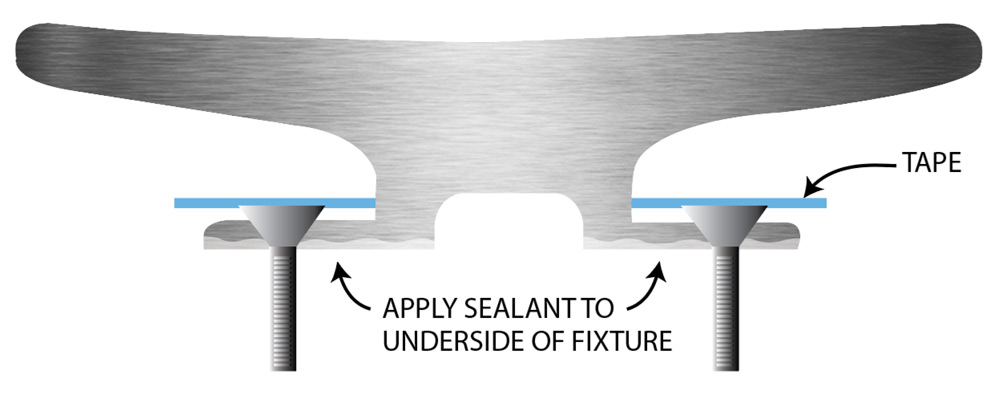
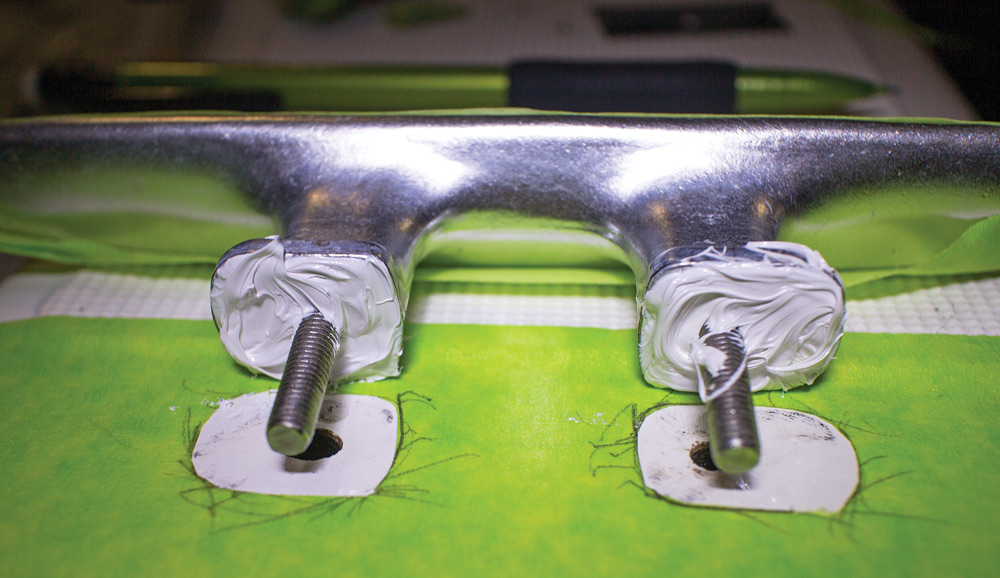
There are a number of options for sealants and adhesives on the market. Look for something that is UV stable, long lasting and made for a marine application, such as 3M Fast Cure 4000 UV. It’s important to avoid adhesives that have more holding power than is necessary. The main function of the sealant when bedding hardware is to seal out water, the fitting is actually held on by the bolts. Products like 3M’s 4200 and 5200 have more adhesion than you need and when it comes time to remove or rebed a part it will be nearly impossible to get them off the deck without causing damage.
Cleaning up after you have bolted down the fitting is just as important as resealing the part in the first place. Not only does it look good to have all the excess sealant cleaned up but it also prevents degradation of the sealant. This is easier if you’ve taped off the area, but any excess sealant should be removed with a putty knife and adhesive remover if necessary.
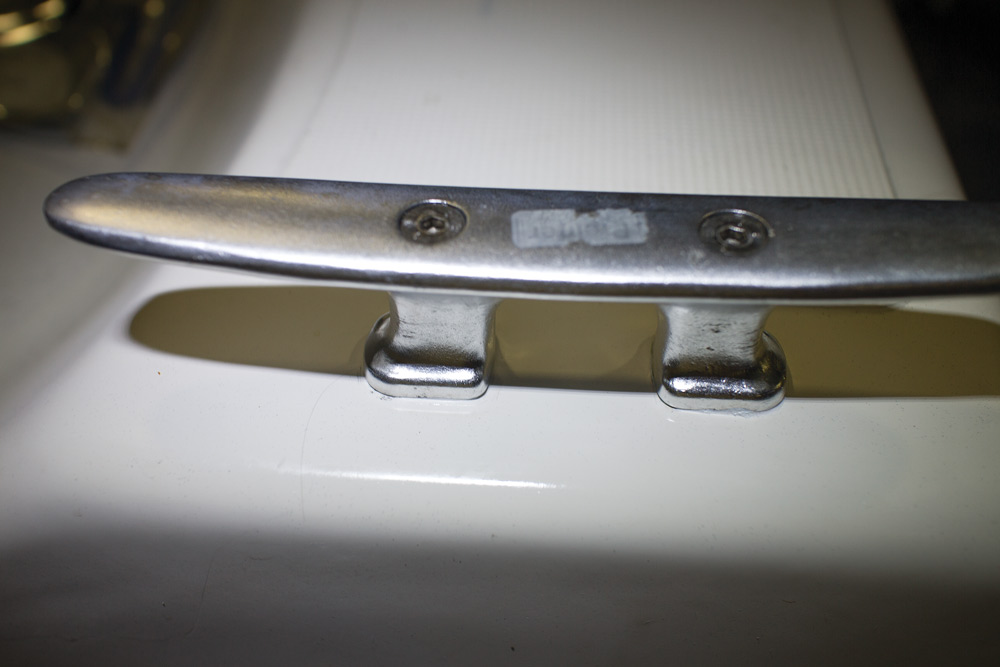
Allow the sealant on the newly bedded fixture to cure according to the manufacturer’s recommendations, usually about a day in optimal temperature and humidity conditions, before putting the fitting under any kind of load. Properly mounted deck hardware should serve you and your boat well for many years to come.

Comments