Steering Maintenance
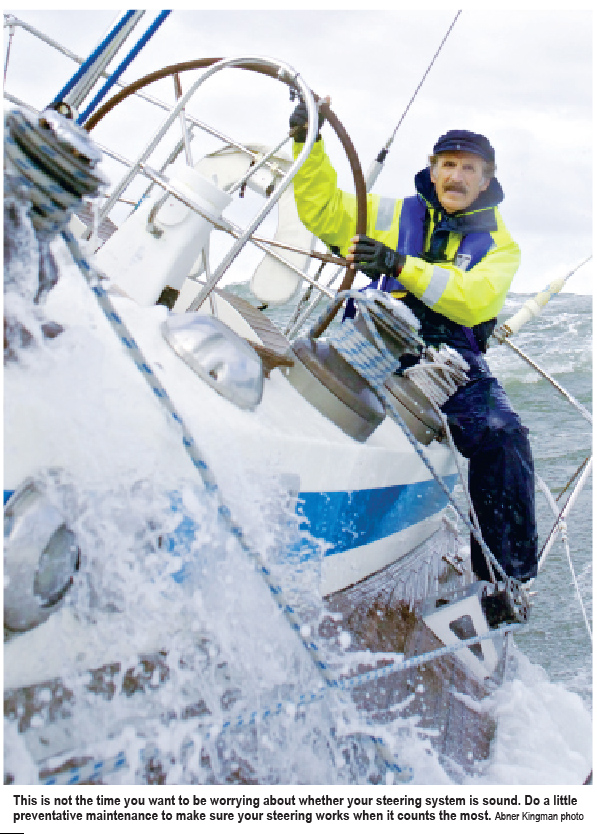
Routine maintenance will keep one of the most important systems on a boat working when you need it most
It has been said that steering is the second most important aspect of your boat, only trumped by flotation. But, the steering system on many boats is often neglected. It is assumed to just work and any minor problem with it is ignored. To make matters worse, steering systems will often progressively deteriorate and then fail, but the deterioration is so gradual that we don't notice it during normal operation. With just a bit of attention, and a potentially small refit, your steering system will serve you well for many years.
The best steering system assessment starts with the boat on the hard. We'll check the rudder itself and its bearings or mounts. This test can be run on a shaft-mounted rudder or one hung with gudgeons and pintles. Lock down the wheel, if you have one, and grab the rudder. Is there play side-to-side or fore-and-aft? If so, try to assess where it is coming from. If you sense movement in the shaft you may need to replace or adjust the rudder bearings. If the boat has a transom-hung rudder, do the gudgeons or pintles appear worn? If so you'll need to replace one or the other. A half-inch of movement at the rudder tip is the level at which you should become concerned. Excess slop in a rudder can make the rudder hard to move upwind and make the steering sloppy going downwind.
Assuming that the rudder is in good shape, we'll take a look at the wheel, cables, sheaves and linkage. Let's start by wiggling the wheel; is it tight on the shaft? If not, we'll need to take a look at the little key that locks the wheel onto the shaft. They do wear and can be replaced. Is the wheel relatively tight in the pedestal? There are shaft bearings in the pedestal that may need to be replaced. From here, we will pull the wheel by loosening the nut and removing it from the shaft. Next you need to remove the compass. There are usually some trim screws and 4 ¼-inch bolts that hold the compass to the top of the steering pedestal. Once inside you'll see the steering shaft with a small sprocket on it and a knurled area for the wheel brake. You can slip the wheel back on and turn the shaft for inspection. If everything looks good, lube the chain with a little lightweight oil, and put a little Teflon grease on the forward and rear bearings through the holes in the tops of races. While we are looking at the shaft, inspect the wheel brake. Is the knurled area free of grease and oil, are the pads in good shape? Clean things up if needed and replace the pads if needed.
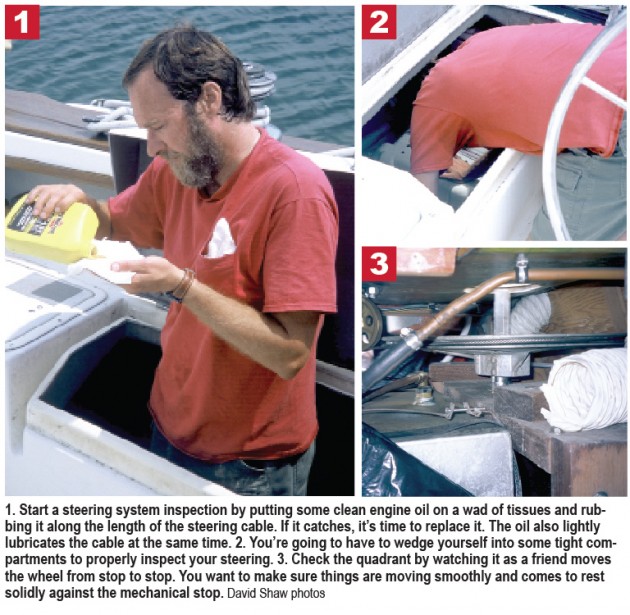
Next we'll take a look at the steering cables. We'll inspect and lubricate at the same time. Grab a handful of tissues and put a little 30-weight oil (any clean engine oil will do) on it. Wipe the wad of tissues along the whole length of the cable, moving the rudder to expose any parts in the sheaves. If you snag any strands along the way, the cables should be replaced. If your cables are suspect, you should remove the chain and give it a good inspection too. Take a look at each link and makes sure it "rolls" correctly-it should move freely. Also look for any wear or corrosion too. If anything looks suspect, replace it.
As you take a look at the cables, check each sheave too. They should turn freely and be properly lined up with the path of the cable. Look around the area of the sheave, if you see any metal filings figure out where they came from. The sheaves will appreciate a little lube too-30-weight oil is perfect.
At this point, we have validated the wheel and cables, next is the rudder quadrant itself. Climb down near the quadrant and have someone turn the wheel lock-to-lock. You want to watch the moving quadrant to verify that it moves smoothly and comes to rest solidly against the mechanical steering stop. If your boat has an autopilot, this would be a great time to make sure the steering stops of the autopilot are just short of the mechanical stops. You'll put a lot of unnecessary load on the autopilot drive if it is powering into the stops.
Next, we'll adjust the cables. You want the cables tight, but not so tight that the cable binds or locks up the sheaves. This is also a two-person job. Lock the wheel brake and make sure that the rudder doesn't move side-to-side without moving the wheel. If it does, take up evenly on each cable to remove the slack. To tighten, we'll loosen the lock nuts and take up on the adjusting nuts. Once the slack is out, loosen the wheel brake and see how the rudder moves-you should see less slack than before. The final tension of the cable is set by measuring the deflection of the cables. The cable should deflect about 1 inch for every 3 feet of unsupported length. When adjusting, take up the tension evenly on each cable. When you are happy with the tension, tighten the locknuts down firmly onto the adjusting nuts.
Finally, put everything back together again. It is a good practice to lube the taper of the shaft as well as the compass bolts with Tef-Gel. If you replaced the steering cables, it's a good idea to recheck the tension in about a week as new cables can stretch.
There is no worse feeling than having the steering system go limp. This could happen as you are approaching shore or traffic, or may miles out to sea, and either event could be dramatic. By following this simple process on a regular basis you can avoid problems and keep the system performing at a high level.

Comments